1
Attach connectors first — optional
If you want the video grounded in real product or company context rather than general knowledge, connect a knowledge base, MCP server, or application before you start the chat. The agent draws on whatever is connected at the moment it researches, so attaching sources afterwards means re-running the research.Skip this if a prompt alone is enough — the agent works fine without it.
2
Start a new chat
From your workspace, select New chat → Prompt. You’ll land in a conversation with the Prompt to Video agent. Connected sources appear in the Connections row under the composer.
3
Describe the video
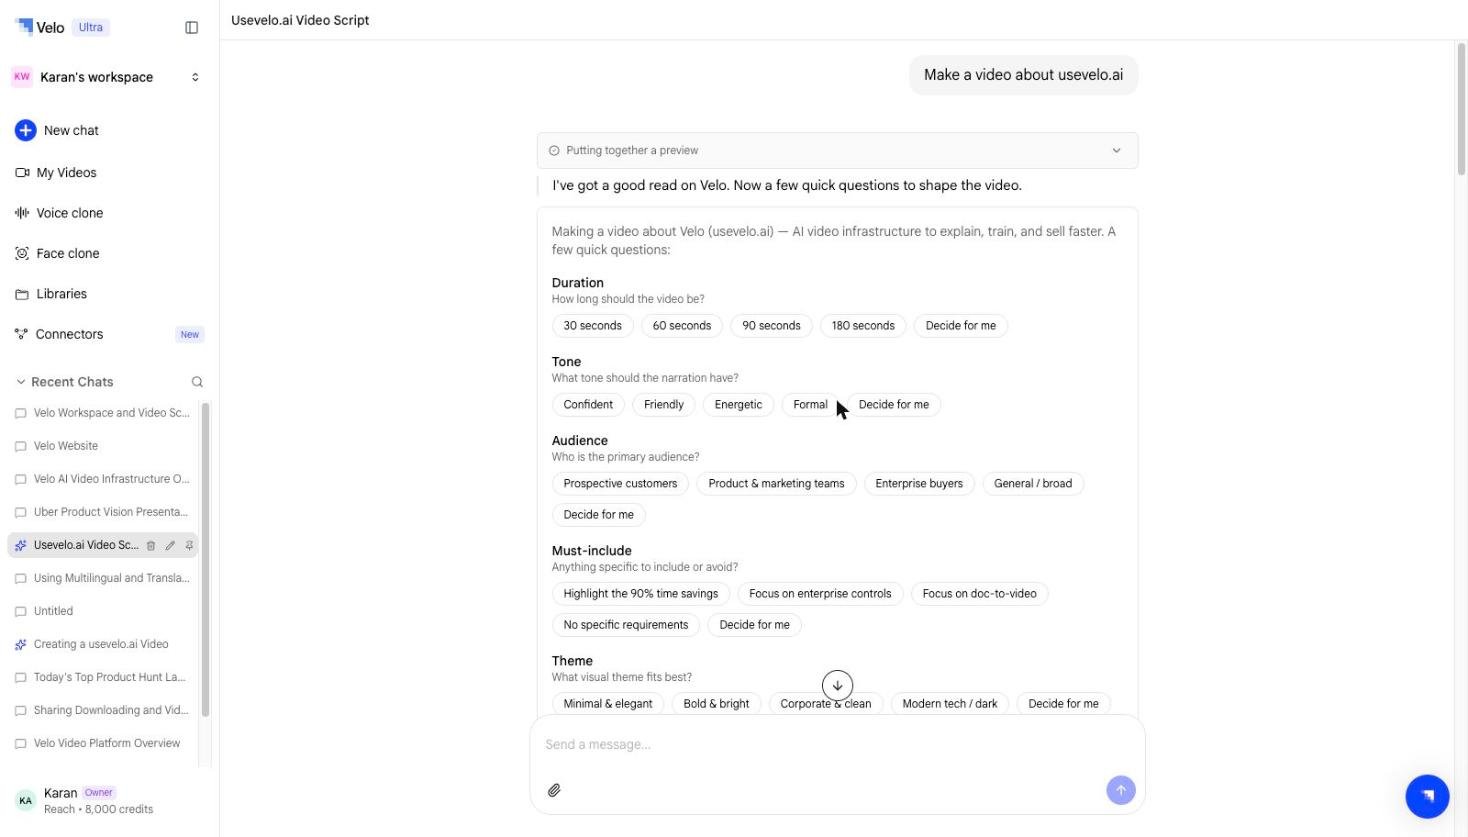
Type what you want the video to explain — for example, “Explain our new pricing tiers to existing customers” or “Walk a new hire through how our onboarding flow works.” Be as specific as you’d be briefing a teammate.
4
Review the script
The agent researches your topic and returns a script. Read it over, and ask for changes directly in the conversation — for example, “make this shorter” or “add a section on refunds.”
5
Choose a voice
Select a public voice or your own cloned voice (see Voice clone) for the voiceover.
6
Render
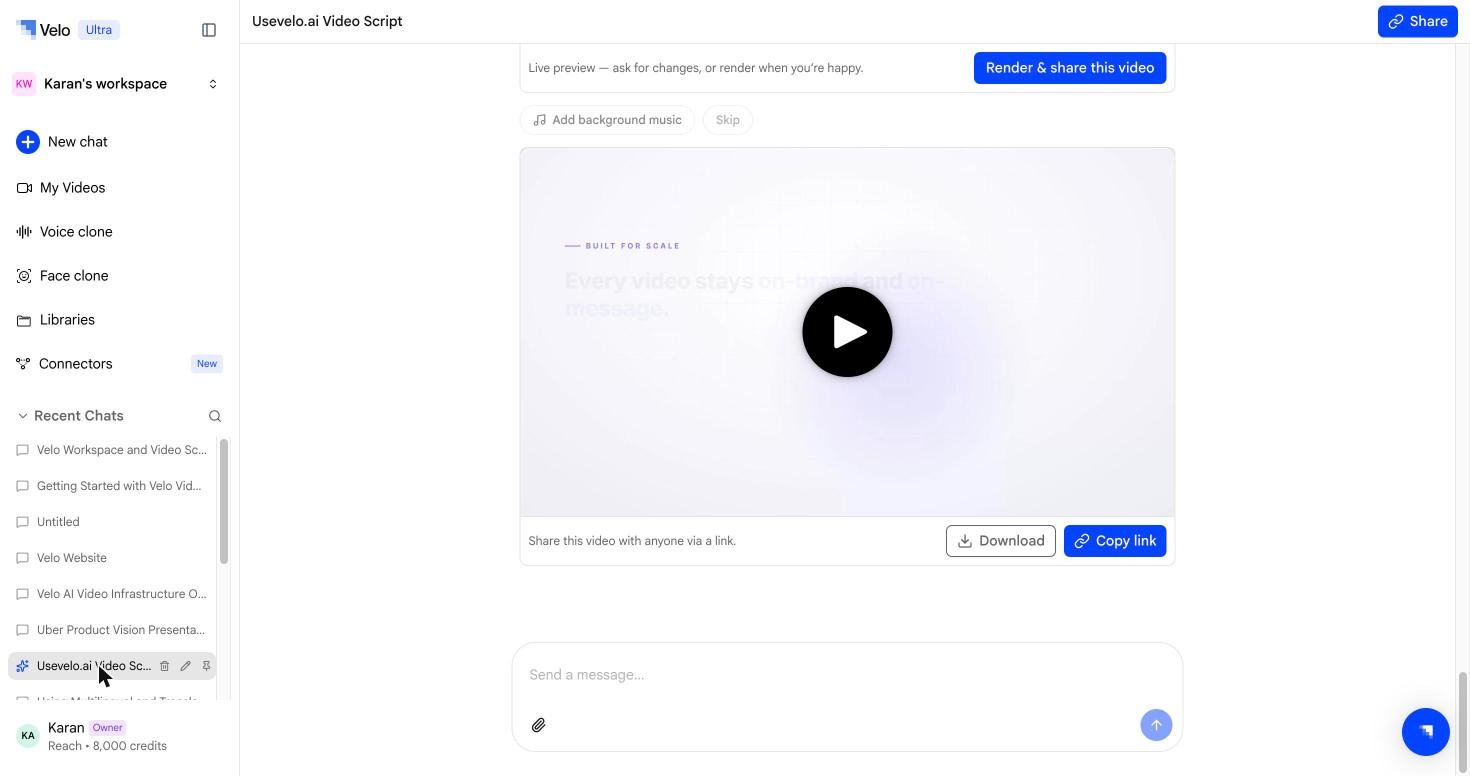
Once you approve the script and voice, the agent renders the video. It appears in My Videos alongside everything else — ready to share and track. Selecting it there reopens this chat, which is where further edits happen.
7
Keep editing by prompt — optional
You don’t have to stop at the first render. Stay in the conversation and describe what you want changed — “make the intro shorter”, “swap the closing line”, “use a warmer voice” — and the agent updates the script and re-renders the affected parts. See Editing in Prompt to Video for what prompt-based editing can and can’t reach.
Rendering and sharing
When the preview is right, select Render & share this video. Velo offers an Add background music step, which you can take or Skip.