
Accessing the Voice Library
Step 1: Select Voice clone from the left sidebar navigation menu. Step 2: Review the available options. You can choose from five Public Voices or manage your Custom Voices.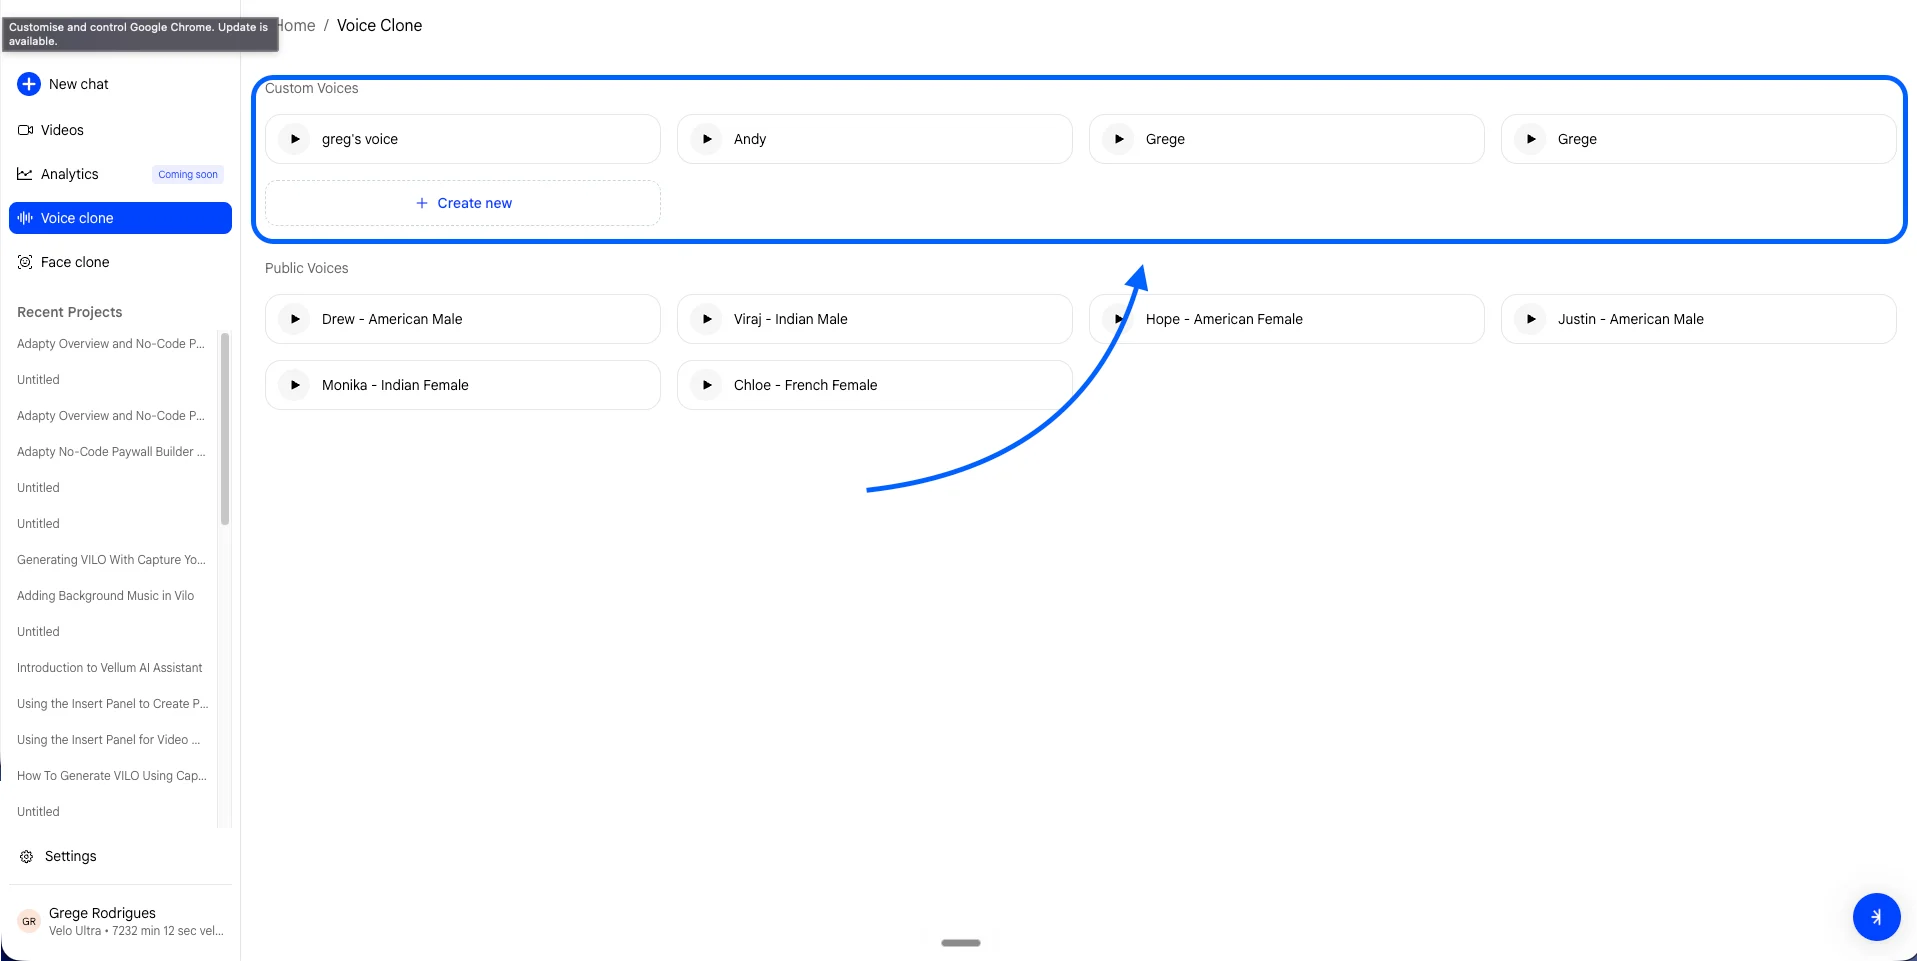
Setting Up a New Clone
Step 1: Click + Create new in the Custom Voices section. Step 2: Enter a name for your voice clone in the text field (for example, “Andy”) and click Continue.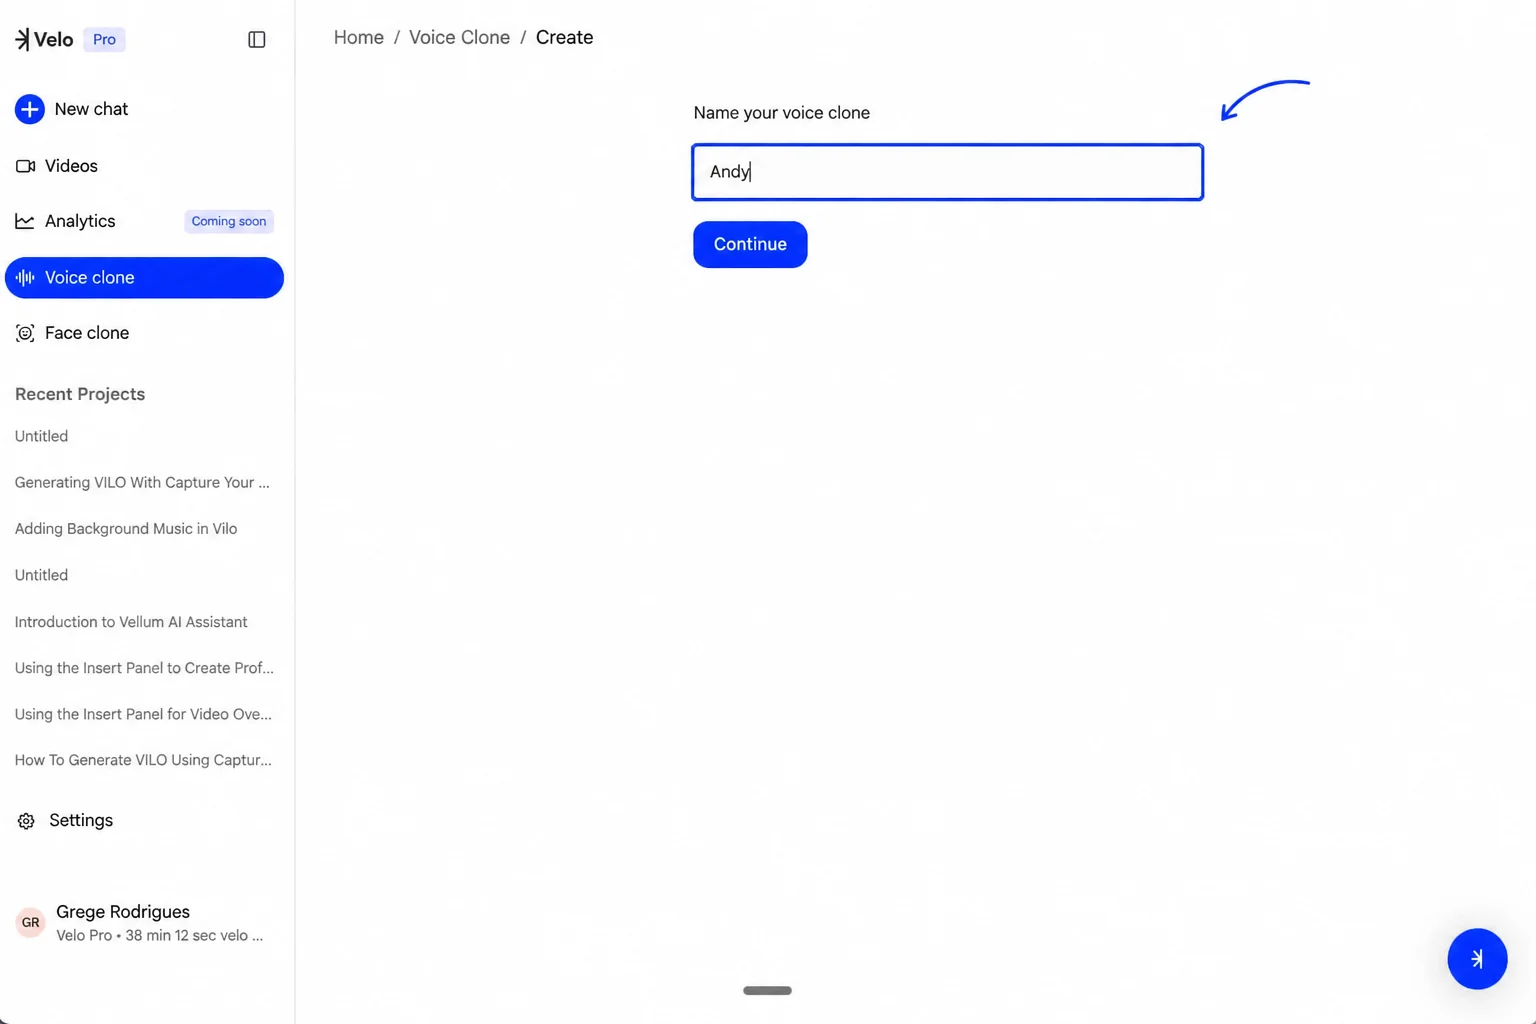
Recording the Calibration Script
Step 1: Choose your preferred microphone from the dropdown menu. Step 2: Click Start recording and read the provided script aloud. Step 3: Speak at a steady pace and maintain a relaxed, natural tone as you would in a normal conversation. This helps the system capture your actual sound so the clone feels natural. Step 4: Click Finish recording once you have completed the script..png?fit=max&auto=format&n=Rr1R_9ovDeX34qDf&q=85&s=c97ae03bf9809014b2c8960cc9dd9cee)
.png)
Processing and Verification
After you finish recording, Velo will analyze the audio to clean up the sound and create your clone. If the system couldn’t capture your voice cleanly - often due to background noise or missed words - you will see a “Couldn’t capture your voice” notification. In this case, select Re-record to provide a clearer sample. Once the analysis is complete, your new voice clone will appear in your custom library and is ready for use in any future video projects..png?fit=max&auto=format&n=Rr1R_9ovDeX34qDf&q=85&s=94dd211eb7e0910edfcfb37f5018976d)
.png)