

Key concepts
Workspace sidebar
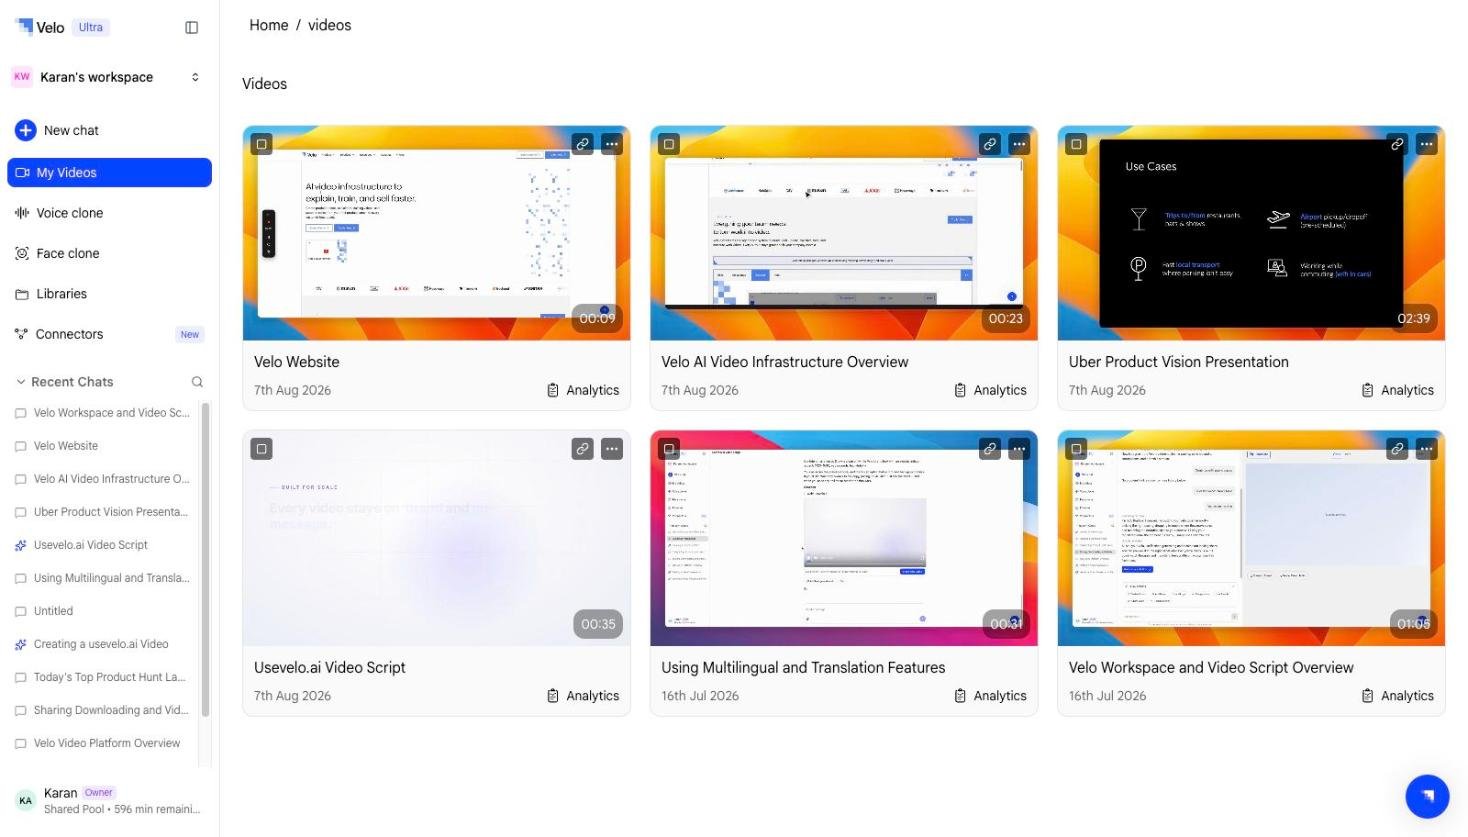
The sidebar gives you quick access to everything in your workspace:- New chat — start creating a new video
- My Videos — view all videos you’ve created in this workspace
- Voice clone — manage your custom and public AI voices
- Face clone — manage your custom and public AI faces
- Libraries — browse and manage video collections
- Recent Chats — pick up where you left off
Switching workspaces
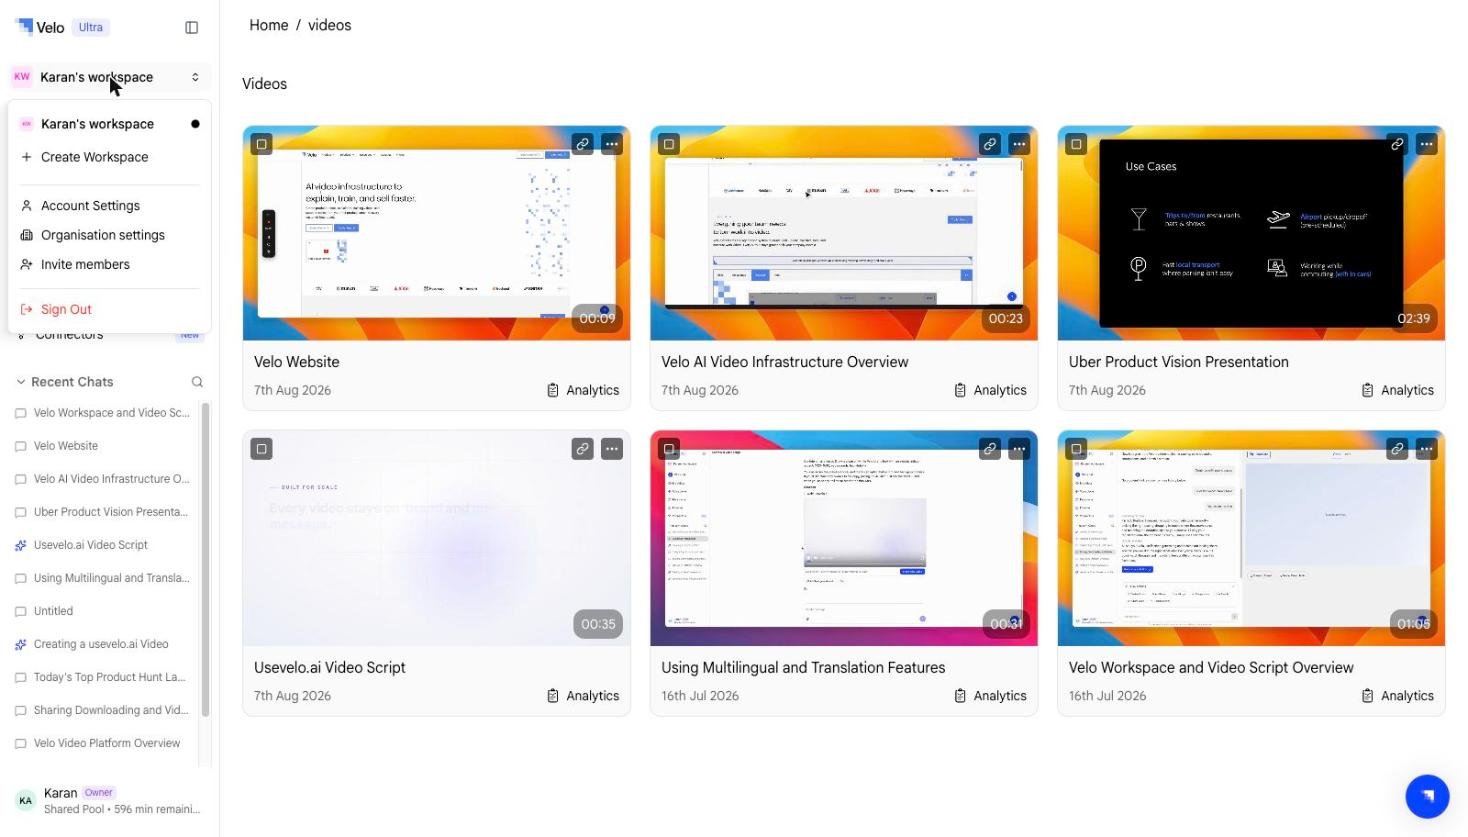
Click the workspace name at the top of the sidebar to open the workspace dropdown. From here you can:- Switch to another workspace you belong to
- Create a new workspace
- Access Account Settings (Profile, My Usage)
- Access Organisation Settings (General, Members, Plans & Billing, Usage, Brand Kit)
- Invite members
- Sign out
Multiple workspaces
You can belong to multiple workspaces — for example, one for your company and another for a side project. Each workspace has its own plan, minute pool, and member list. A single account can belong to workspaces on different plans. Use the workspace dropdown to switch between them.What’s next?
Create a workspace
Set up a new workspace for your team.
Invite members
Add teammates and assign roles.