> ## Documentation Index
> Fetch the complete documentation index at: https://docs.usevelo.ai/llms.txt
> Use this file to discover all available pages before exploring further.
# Create a Workspace
> Set up a new workspace for your team in a few clicks.
Every Velo account starts with one workspace. You can create additional workspaces at any time — for example, one per team, department, or client.
## Creating a new workspace
**Step 1:** Click the workspace name at the top of the sidebar to open the workspace dropdown.
**Step 2:** Select **Create Workspace**.
**Step 3:** In the dialog that appears, enter a **Workspace name** and optionally upload a **Workspace logo** (JPG or PNG, max 2 MB).
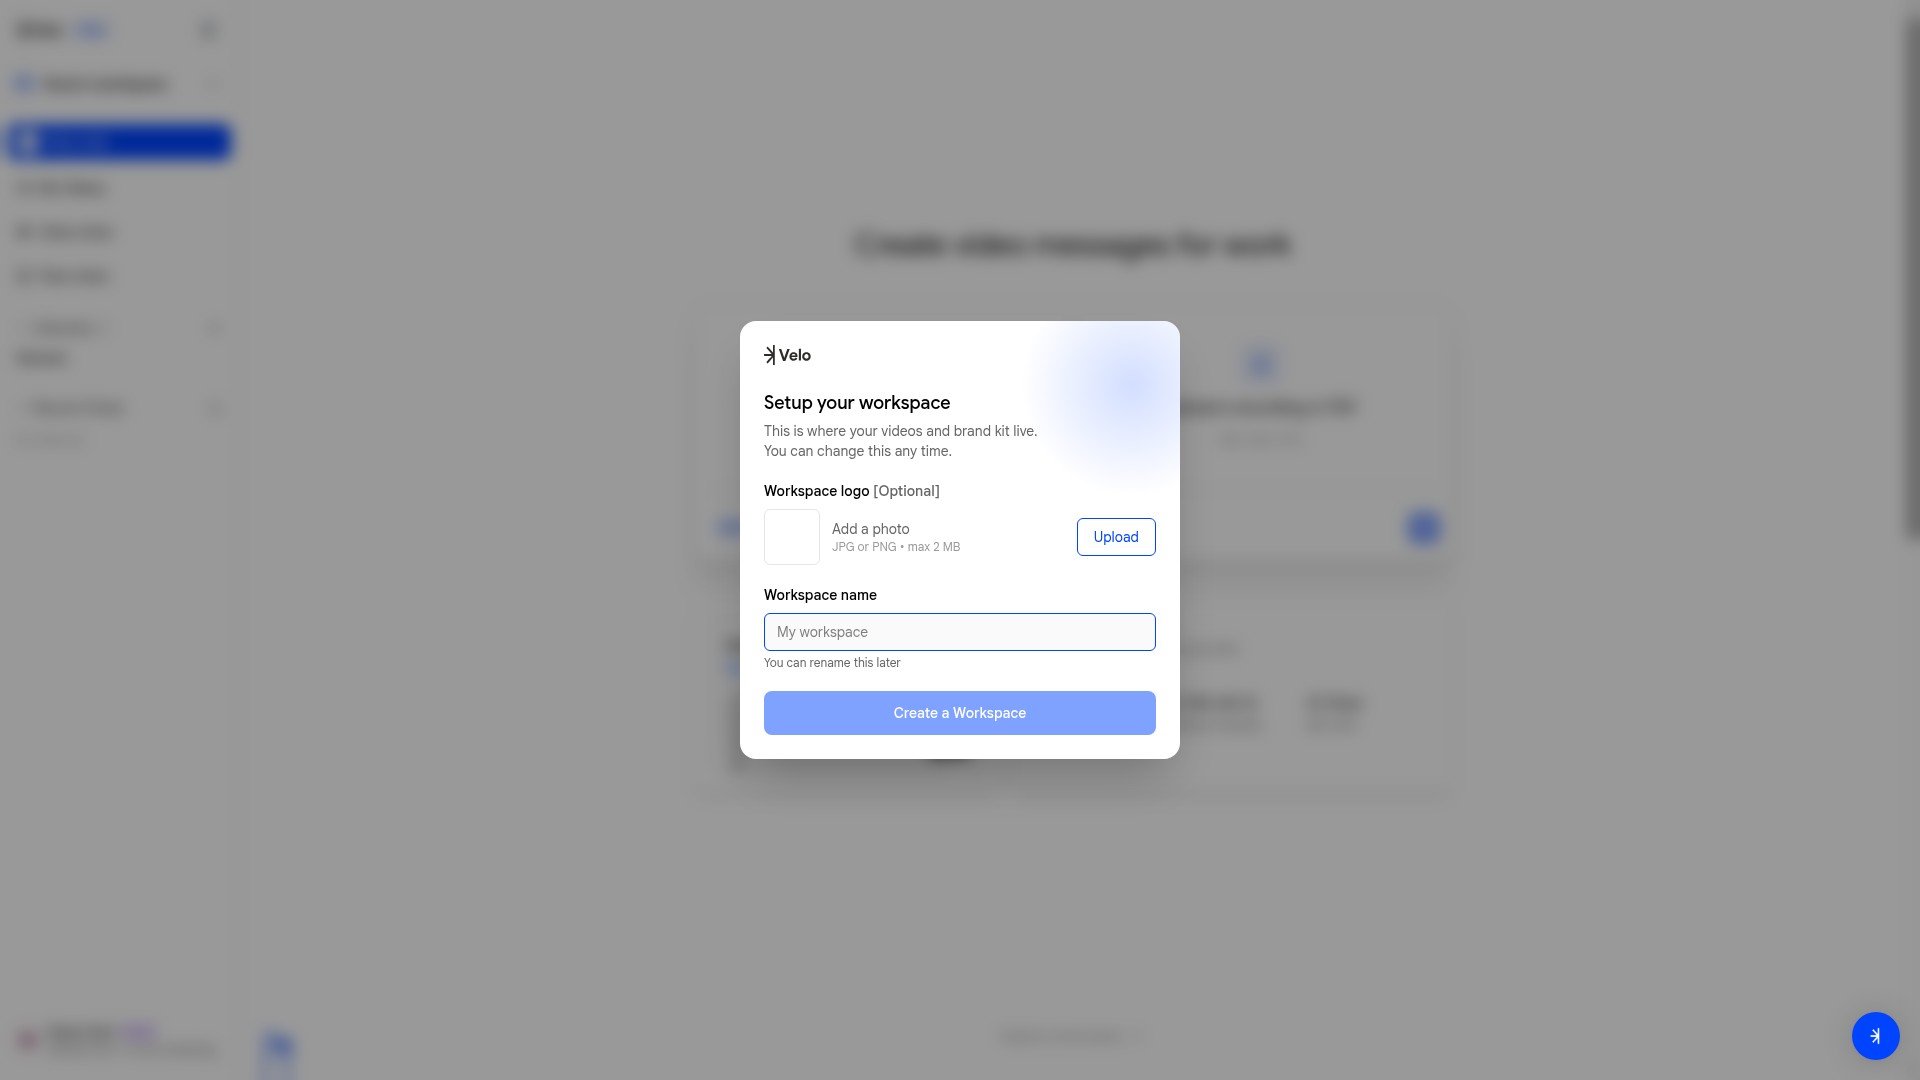 **Step 4:** Click **Create a Workspace**. You'll be switched to the new workspace immediately.
## After creating your workspace
Your new workspace starts on the Free plan with 3 seats and 15 shared minutes per month. From here you can:
* [Invite members](/workspaces/invite-members) to start collaborating
* [Set up your Brand Kit](/workspaces/brand-kit) so every video matches your branding
* [Upgrade your plan](/settings/plans-billing) if you need more seats or minutes
You can rename your workspace or update its logo at any time from **Settings → General**.
**Step 4:** Click **Create a Workspace**. You'll be switched to the new workspace immediately.
## After creating your workspace
Your new workspace starts on the Free plan with 3 seats and 15 shared minutes per month. From here you can:
* [Invite members](/workspaces/invite-members) to start collaborating
* [Set up your Brand Kit](/workspaces/brand-kit) so every video matches your branding
* [Upgrade your plan](/settings/plans-billing) if you need more seats or minutes
You can rename your workspace or update its logo at any time from **Settings → General**.