> ## Documentation Index
> Fetch the complete documentation index at: https://docs.usevelo.ai/llms.txt
> Use this file to discover all available pages before exploring further.
# Face Clone
> Create a custom digital face clone to maintain a consistent presence across all your Velo video projects.
Velo allows you to create a custom face clone to use across your video projects. This feature enables you to maintain a consistent digital presence without needing to record new footage for every message. You can choose to use public faces or build a personalized version of yourself.
## Accessing the Face Clone Gallery
**Step 1:** Select **Face clone** from the left-hand navigation panel.
**Step 2:** On the **Face Clone** dashboard, select the **Create face clone** button.
.png?fit=max&auto=format&n=Rr1R_9ovDeX34qDf&q=85&s=a7fc3804a56a77757f324cd2a6ed88ec)
.png) The Face Clone dashboard featuring public faces and the option to create a custom clone.
## Capturing Your Image
**Step 1:** Enter a name for your new clone in the **Name your face clone** field.
**Step 2:** Select **Click picture**.
**Step 3:** When prompted by your browser, allow camera access to initialize the capture interface.
**Step 4:** Align yourself within the frame and follow the on-screen countdown to take your photo.
The Face Clone dashboard featuring public faces and the option to create a custom clone.
## Capturing Your Image
**Step 1:** Enter a name for your new clone in the **Name your face clone** field.
**Step 2:** Select **Click picture**.
**Step 3:** When prompted by your browser, allow camera access to initialize the capture interface.
**Step 4:** Align yourself within the frame and follow the on-screen countdown to take your photo.
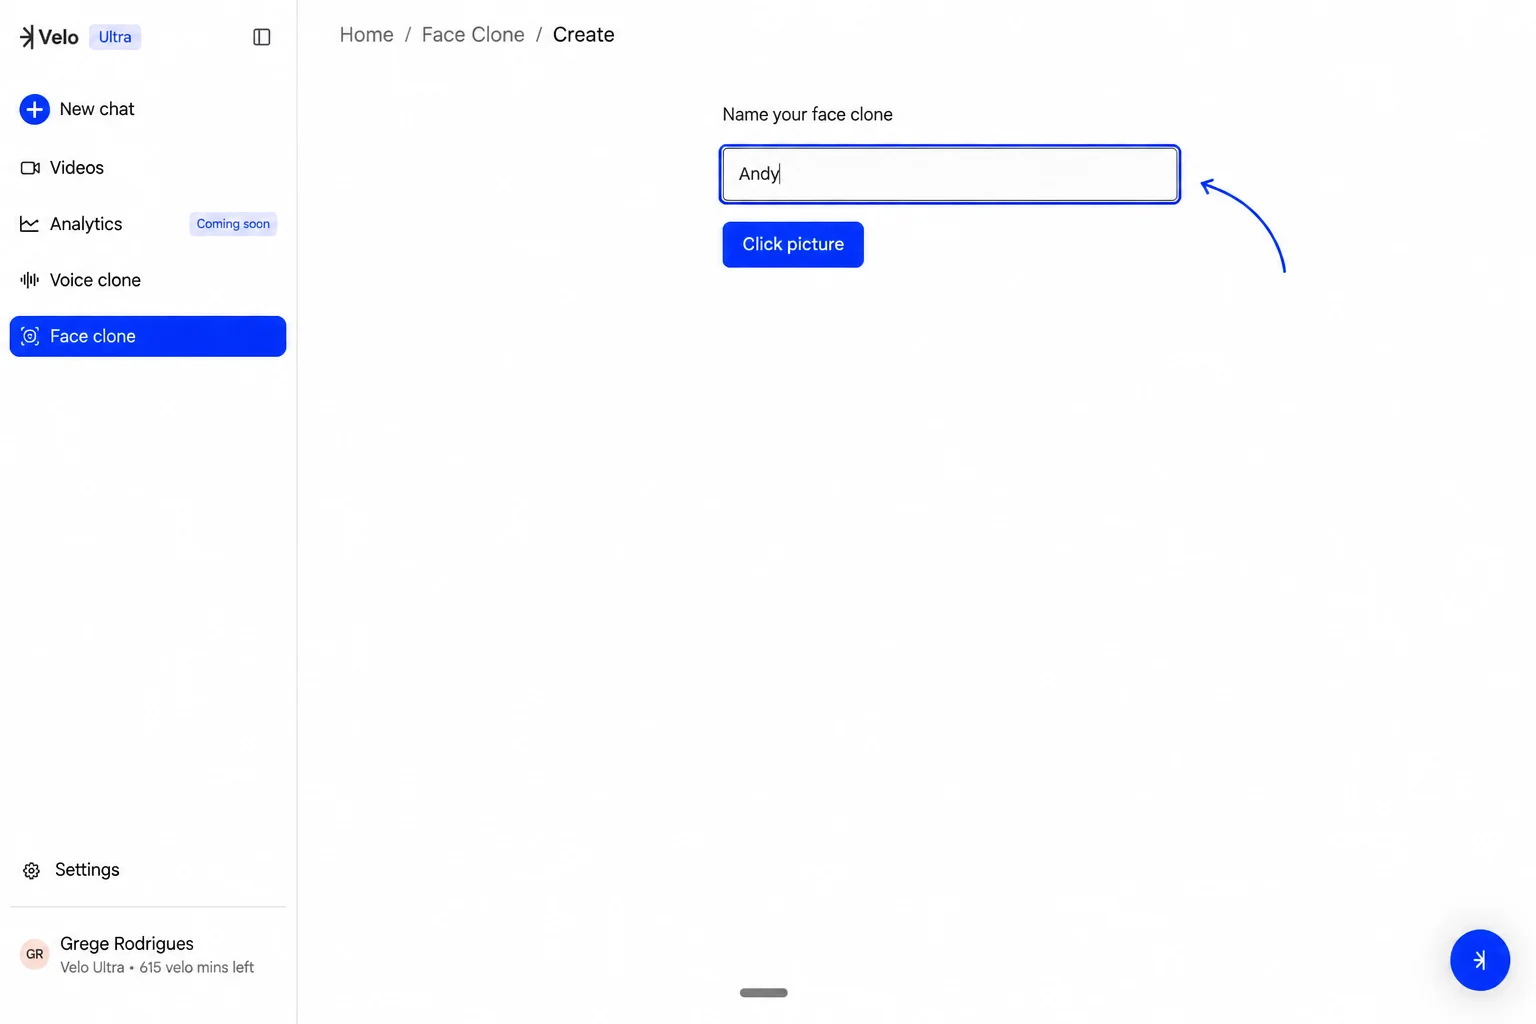 Naming the new face clone before capturing a photo.
## Customizing the Background
Once your picture is captured, the system provides several options to refine the look of your VeloTwin. You can browse through various environmental presets - such as an office setting, by selecting **Change Background**. If the initial capture isn't ideal, select **Retake** to try again. When satisfied with the preview, select **Continue** to save the clone.
Naming the new face clone before capturing a photo.
## Customizing the Background
Once your picture is captured, the system provides several options to refine the look of your VeloTwin. You can browse through various environmental presets - such as an office setting, by selecting **Change Background**. If the initial capture isn't ideal, select **Retake** to try again. When satisfied with the preview, select **Continue** to save the clone.
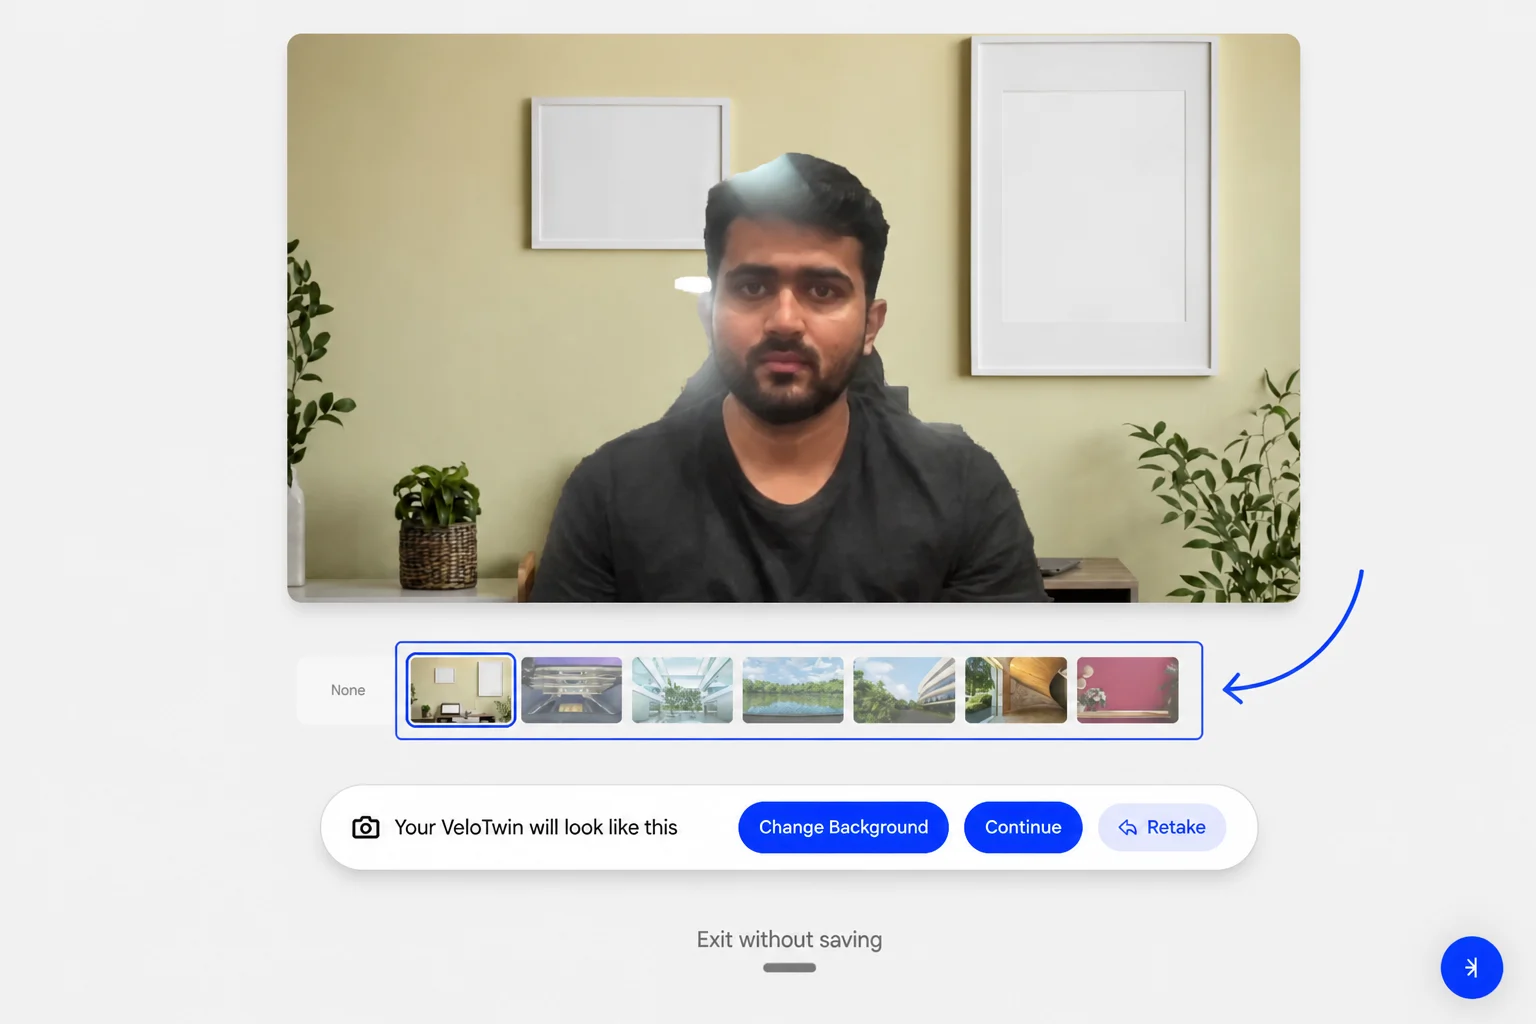 Applying a custom background to the face clone capture.
## Using Your Face Clone
After saving, your custom clone appears in the **Custom Face Clone** section of your library. This clone is now ready to be selected and applied to any new video messages you create within Velo.
Applying a custom background to the face clone capture.
## Using Your Face Clone
After saving, your custom clone appears in the **Custom Face Clone** section of your library. This clone is now ready to be selected and applied to any new video messages you create within Velo.