> ## Documentation Index
> Fetch the complete documentation index at: https://docs.usevelo.ai/llms.txt
> Use this file to discover all available pages before exploring further.
# VeloTwin
### **1. Enabling or Disabling Your VeloTwin Face Overlay**
Open the **Face** panel from the right sidebar. At the top of the panel
you will find the **Use VeloTwin** toggle.
* Switch it **on** to display your VeloTwin face in the video.
* Switch it **off** to remove the face overlay entirely without
deleting your VeloTwin settings.
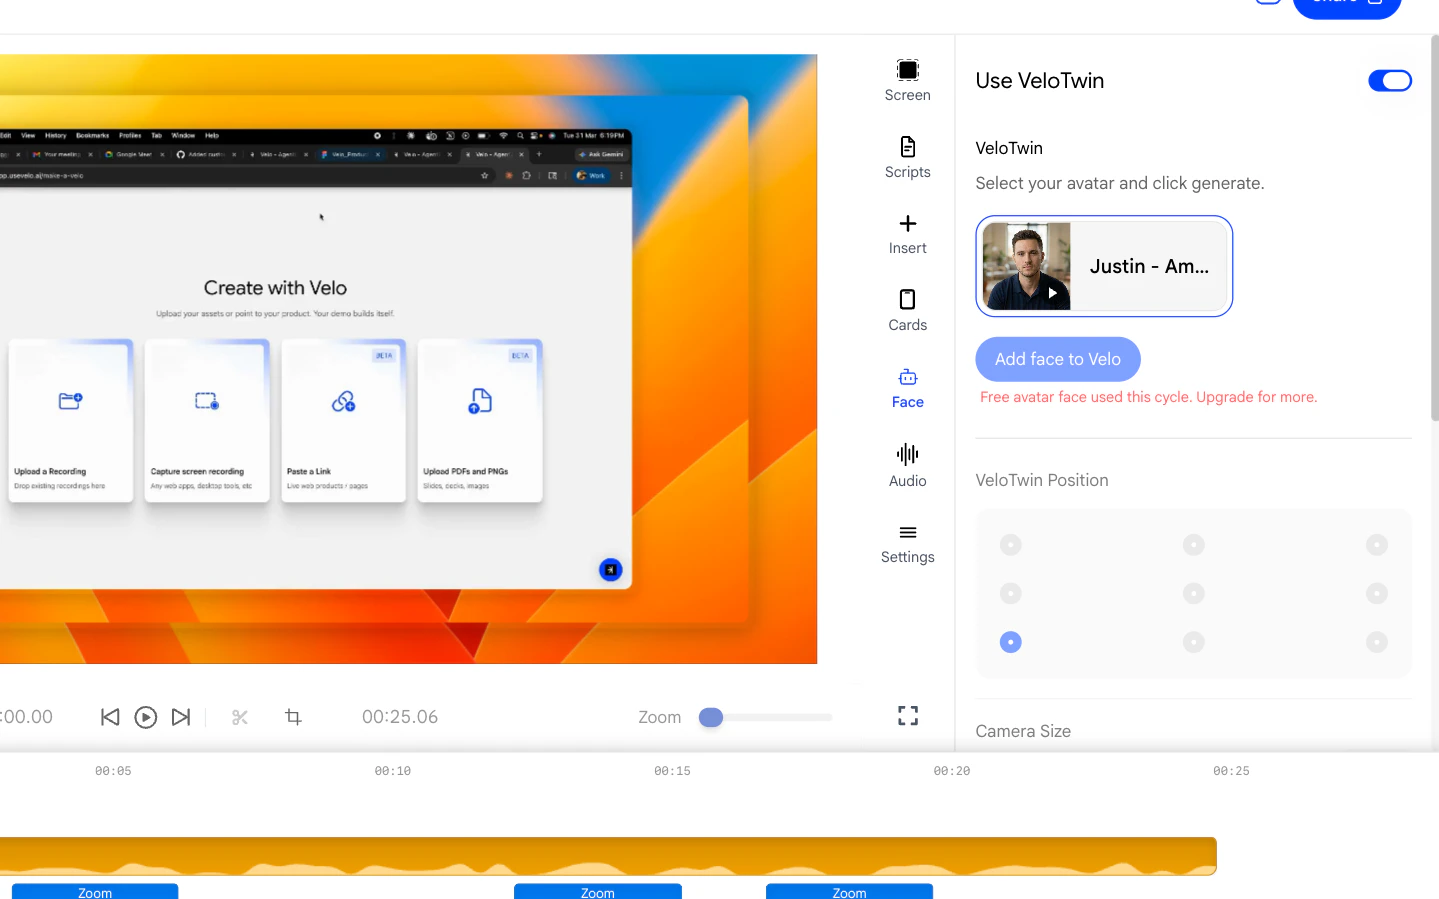 ### **2. Changing Which VeloTwin Appears**
When the face overlay is enabled, your currently selected VeloTwin is
shown as a preview card:
* You cannot change the face of VeloTwin, as you have already selected the voice of same twin.
### **2. Changing Which VeloTwin Appears**
When the face overlay is enabled, your currently selected VeloTwin is
shown as a preview card:
* You cannot change the face of VeloTwin, as you have already selected the voice of same twin.
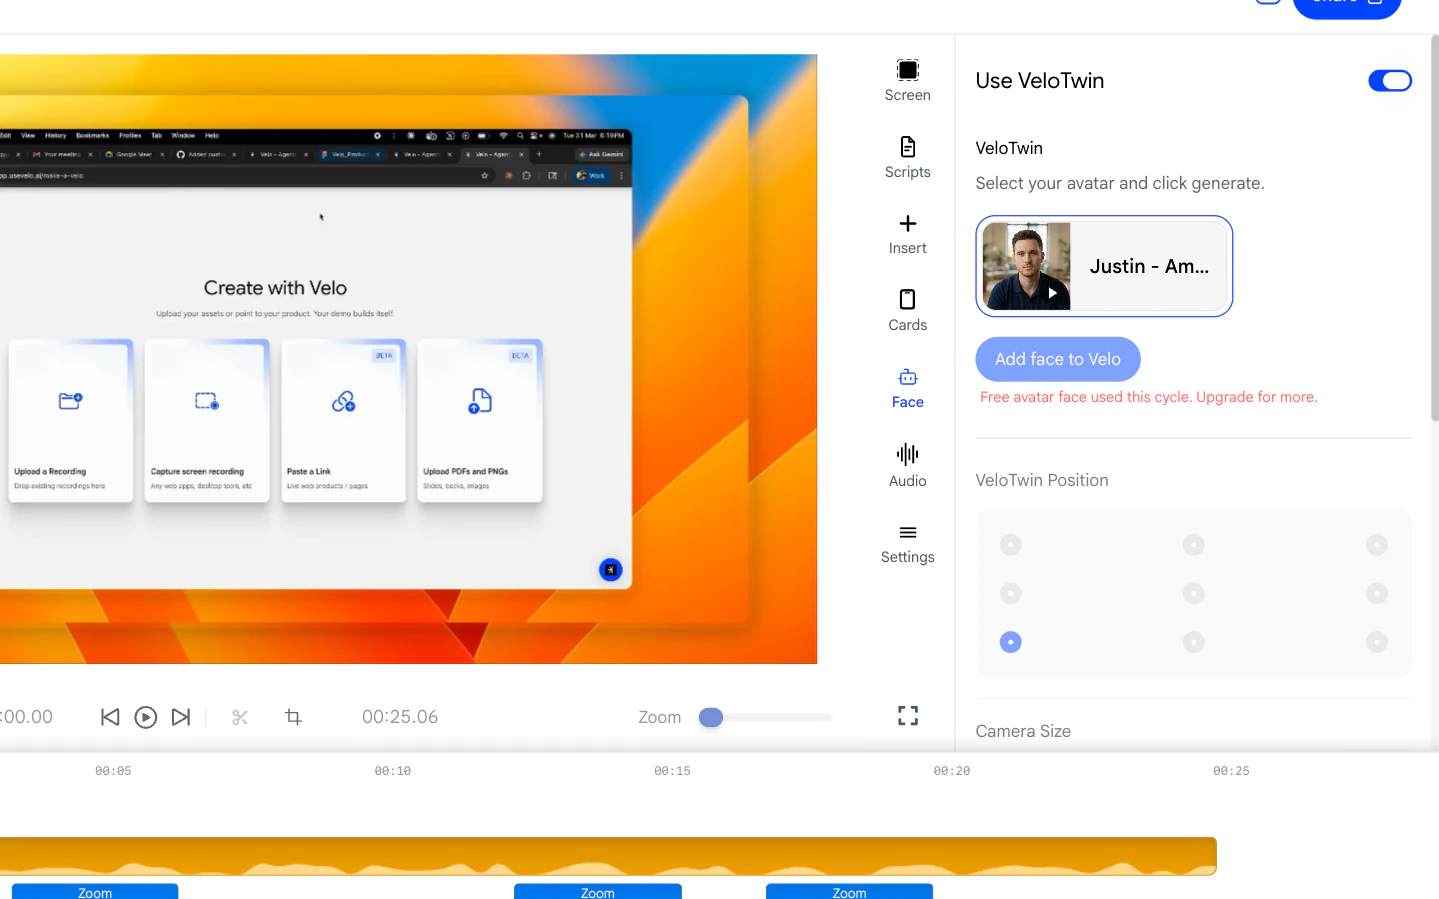 ### **3. Adjusting Camera Position**
Use the **Camera Position** grid to snap your VeloTwin to a specific
location on screen. The grid provides nine anchor points - corners,
sides, and the center.
* Click a circle on the grid to move your face overlay to that
position.
### **3. Adjusting Camera Position**
Use the **Camera Position** grid to snap your VeloTwin to a specific
location on screen. The grid provides nine anchor points - corners,
sides, and the center.
* Click a circle on the grid to move your face overlay to that
position.
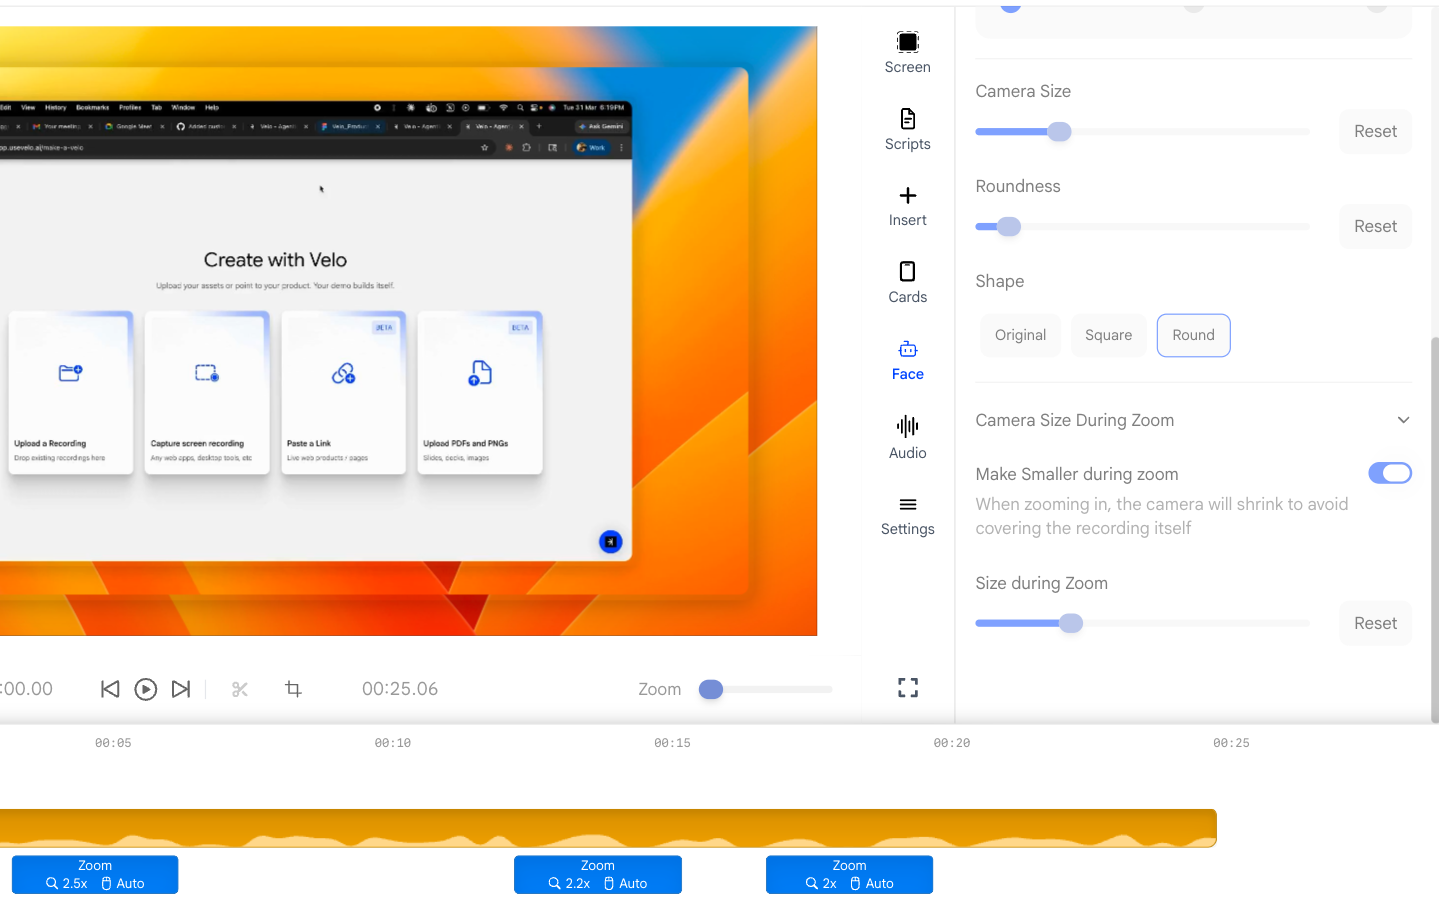
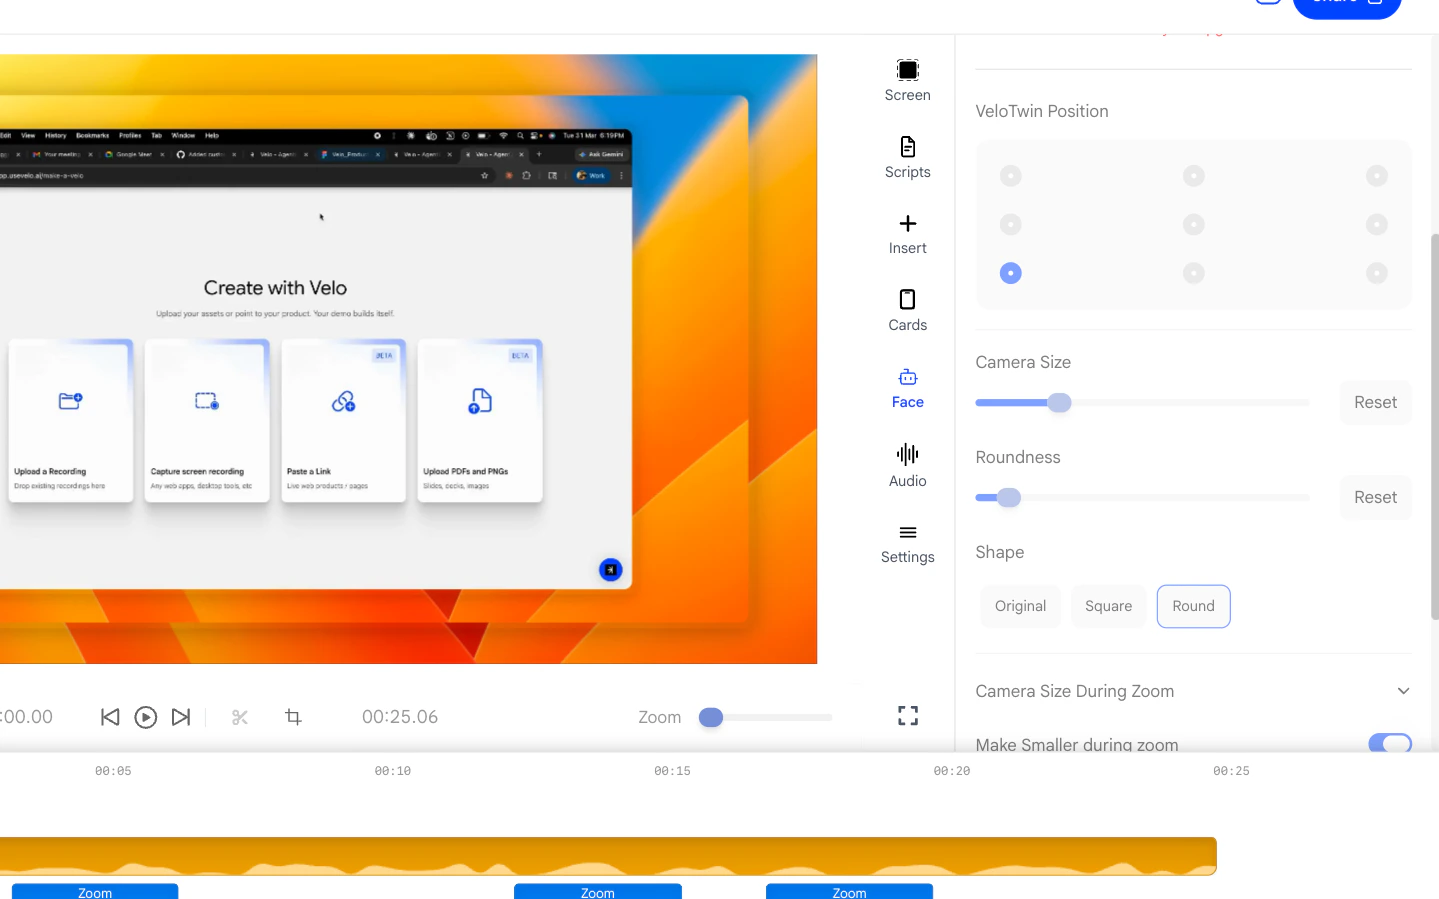 ### **4. Adjusting Camera Size**
Use the **Camera Size** slider to scale your VeloTwin up or down.
* Slide right to make the face overlay larger and more prominent.
* Slide left to make it smaller and more discreet.
### **4. Adjusting Camera Size**
Use the **Camera Size** slider to scale your VeloTwin up or down.
* Slide right to make the face overlay larger and more prominent.
* Slide left to make it smaller and more discreet.
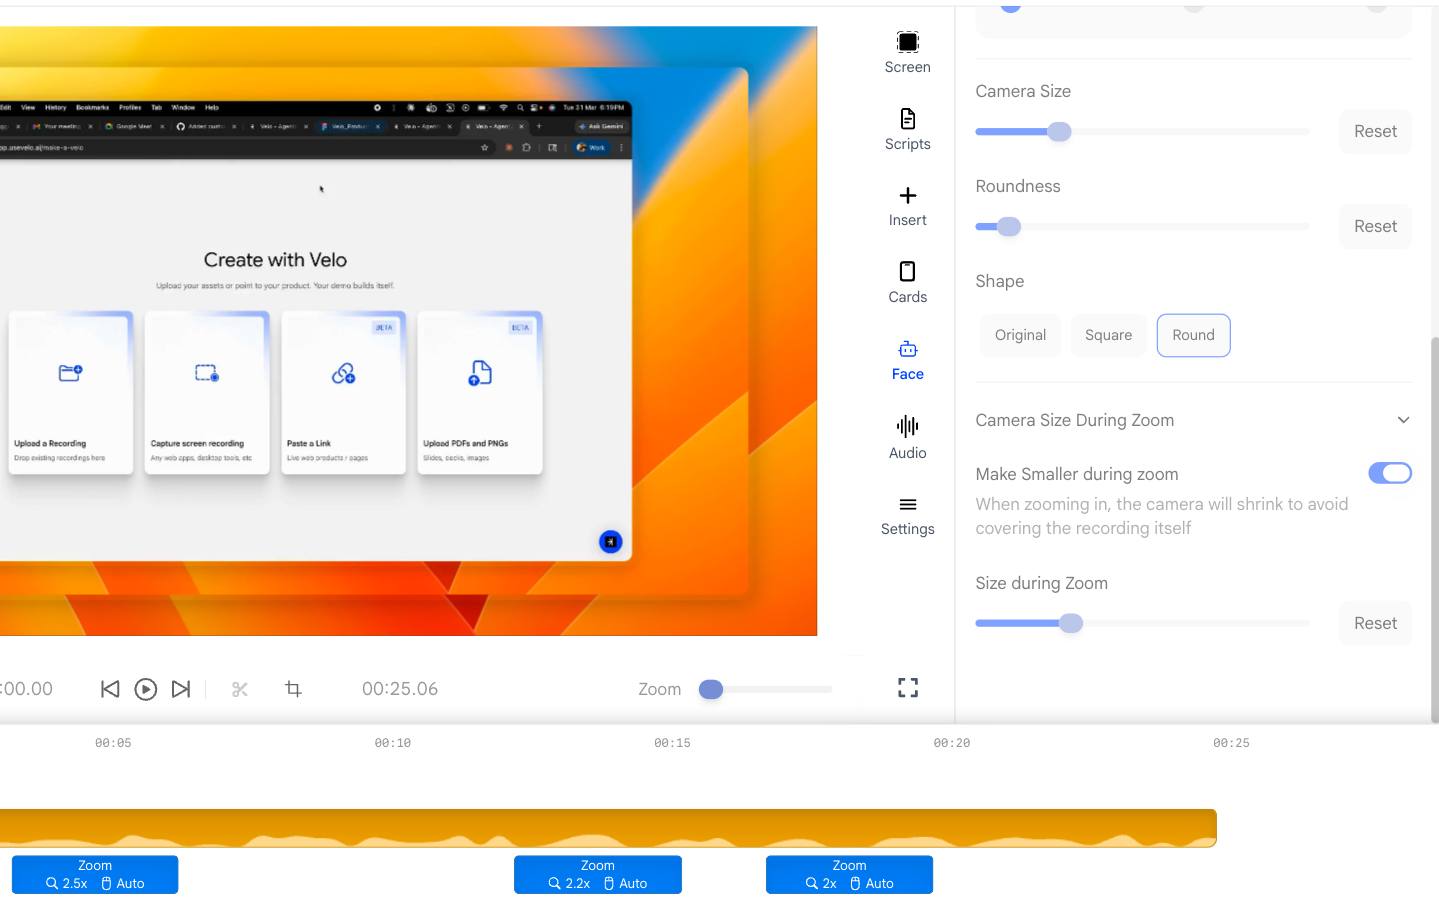 ### **5. Changing the Shape of the Face Overlay**
In the **Shape** section, choose from three preset frame styles:
* **Original** - Your default captured frame shape.
* **Square** - A perfectly even four-sided frame.
* **Round** - A circular bubble look.
### **5. Changing the Shape of the Face Overlay**
In the **Shape** section, choose from three preset frame styles:
* **Original** - Your default captured frame shape.
* **Square** - A perfectly even four-sided frame.
* **Round** - A circular bubble look.
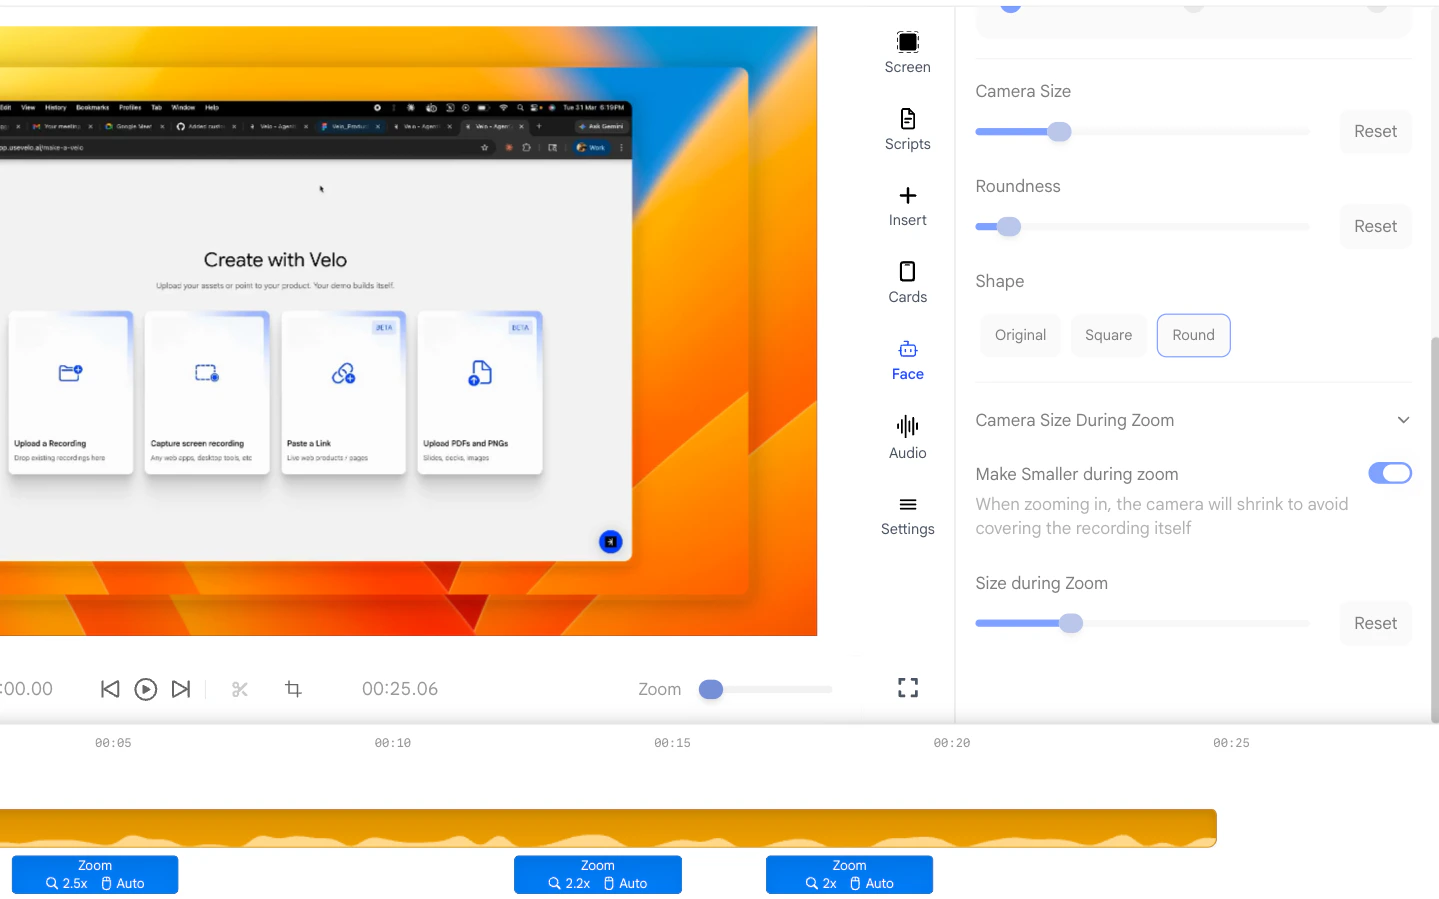 ### **6. Shrinking Your VeloTwin During Zoom**
When the video zooms in on your screen recording, your face overlay may
cover the highlighted content. To prevent this:
* Enable the **Make Smaller during zoom** toggle.
* Use the **Size during Zoom** slider to set exactly how small the
overlay becomes when a zoom block is active.
* Click **Reset** to return to the default zoom behavior.
### **6. Shrinking Your VeloTwin During Zoom**
When the video zooms in on your screen recording, your face overlay may
cover the highlighted content. To prevent this:
* Enable the **Make Smaller during zoom** toggle.
* Use the **Size during Zoom** slider to set exactly how small the
overlay becomes when a zoom block is active.
* Click **Reset** to return to the default zoom behavior.