> ## Documentation Index
> Fetch the complete documentation index at: https://docs.usevelo.ai/llms.txt
> Use this file to discover all available pages before exploring further.
# Timeline
### **1. What Is the Timeline?**
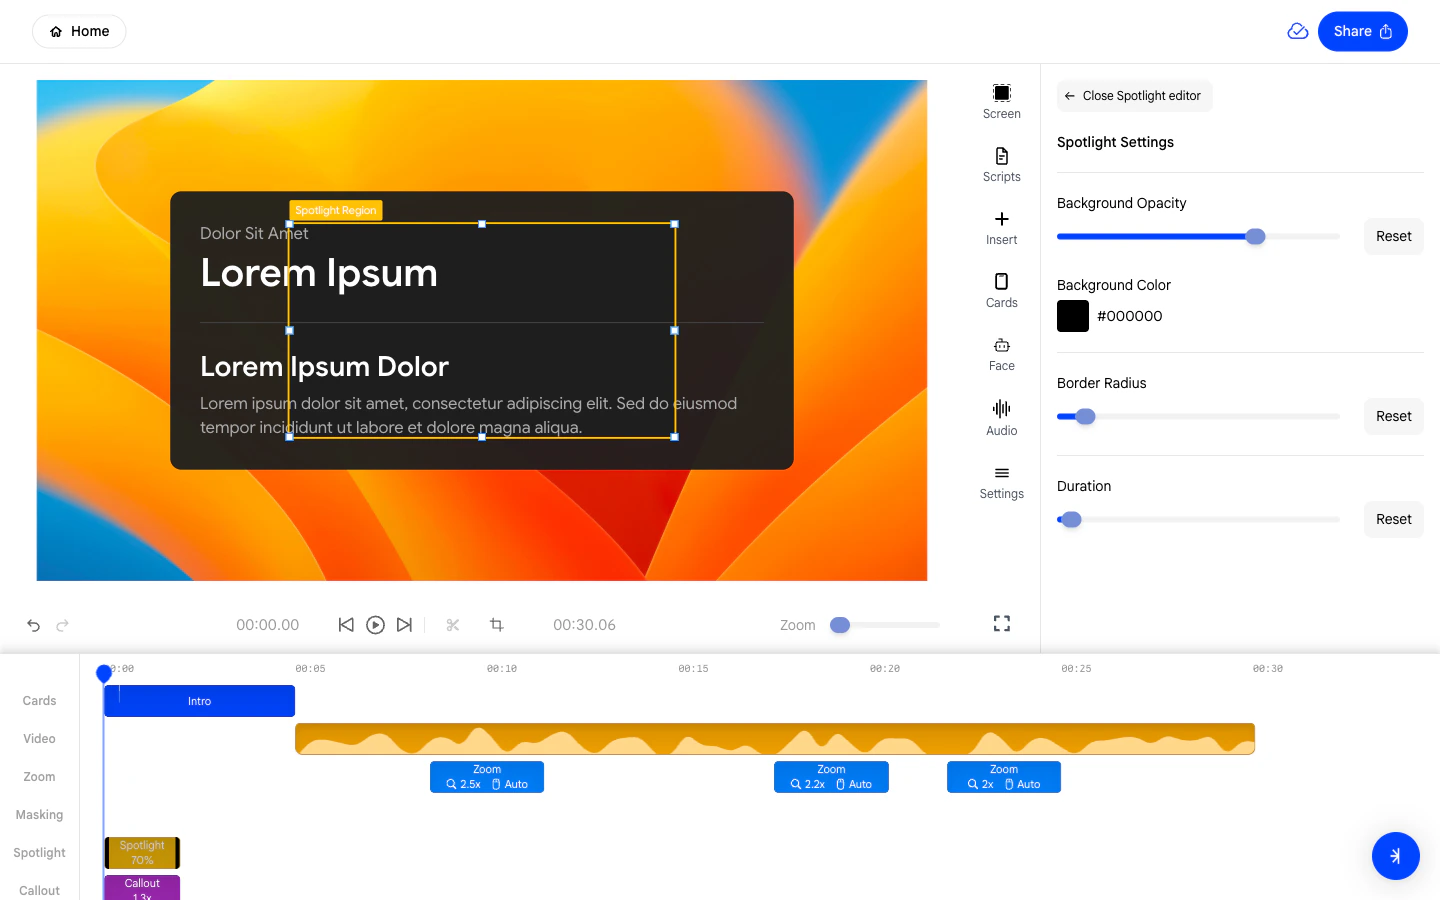
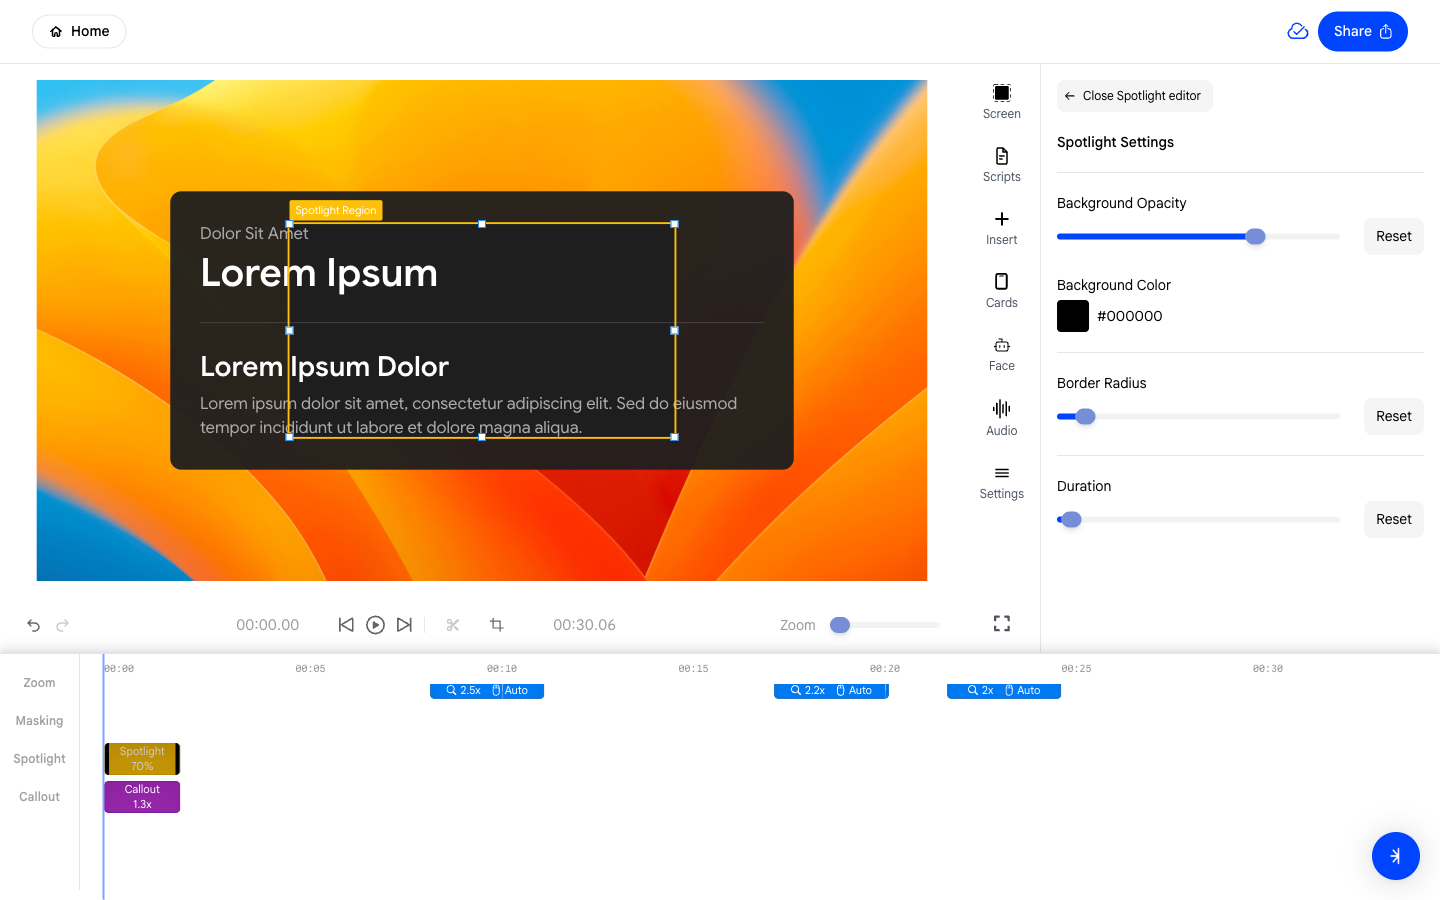
The timeline at the bottom of the editor shows every layer of your Velo
as a horizontal track. As you play the video, the playhead moves from
left to right across all tracks simultaneously.
* Drag the playhead to jump to any point in the video.
* Use the **Zoom slider** in the toolbar to expand or compress the
timeline horizontally for finer or broader edits.
 ### **2. Understanding the Tracks**
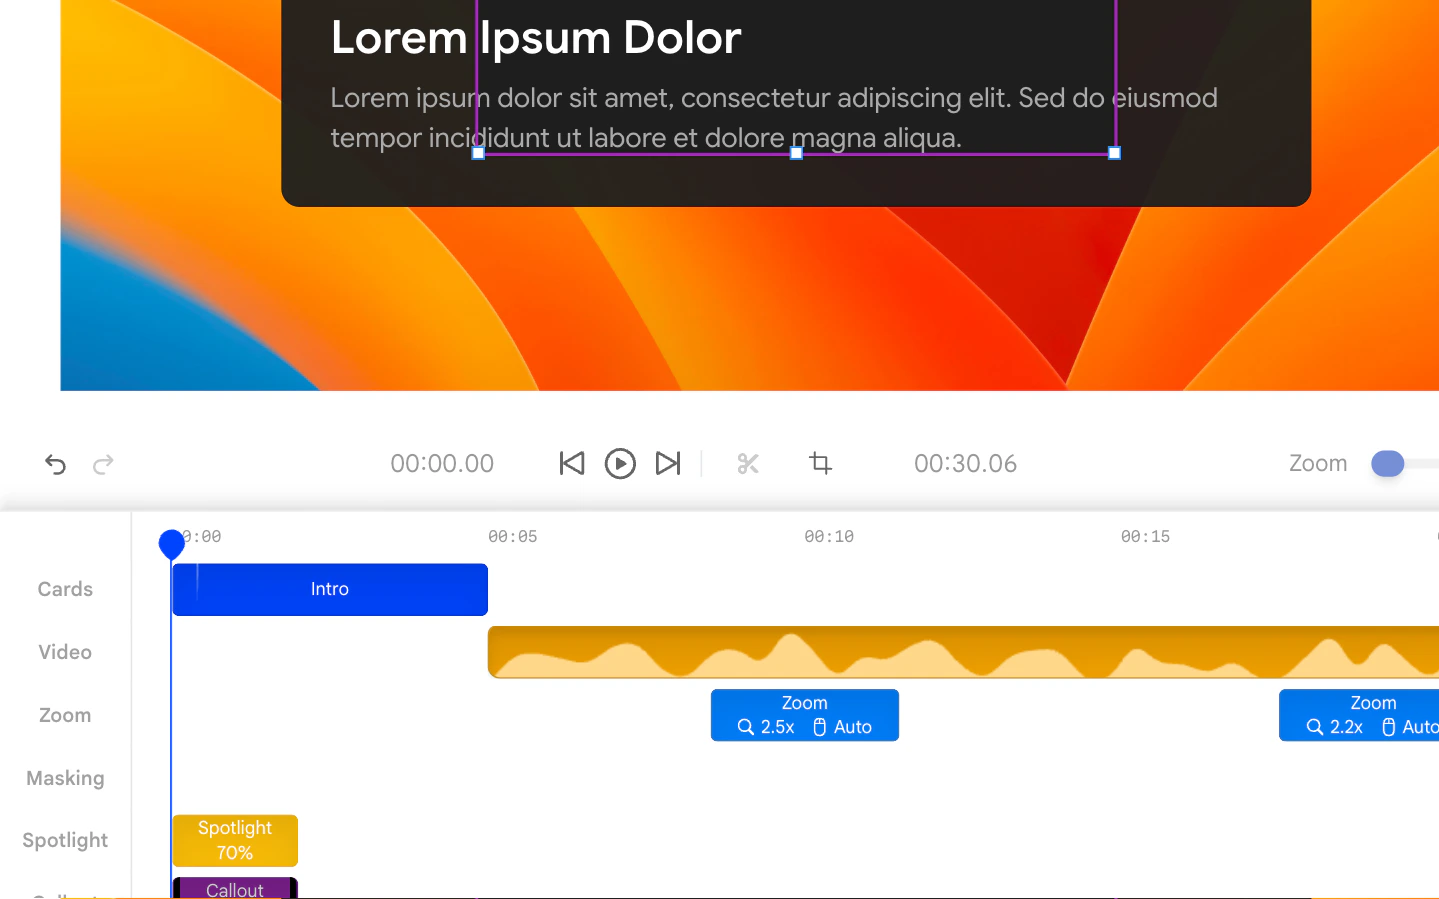
The timeline is made up of six tracks, each controlling a different
layer of your video:
* **Camera** - Purple blocks representing your VeloTwin face overlay
segments.
* **Video** - The orange waveform of your screen recording. This is
the base layer of the video.
* **Zoom** - Blue zoom blocks (e.g., **🔍 2x 🎥 Auto**) that control
when the camera zooms in and at what level.
* **Masking** - Segments that hide sensitive screen regions such as
passwords or private data.
* **Spotlight** - Amber blocks that dim the surrounding area to focus
attention on a highlighted region.
* **Callout** - Purple blocks that draw a highlighted box around a
specific on-screen area.
### **2. Understanding the Tracks**
The timeline is made up of six tracks, each controlling a different
layer of your video:
* **Camera** - Purple blocks representing your VeloTwin face overlay
segments.
* **Video** - The orange waveform of your screen recording. This is
the base layer of the video.
* **Zoom** - Blue zoom blocks (e.g., **🔍 2x 🎥 Auto**) that control
when the camera zooms in and at what level.
* **Masking** - Segments that hide sensitive screen regions such as
passwords or private data.
* **Spotlight** - Amber blocks that dim the surrounding area to focus
attention on a highlighted region.
* **Callout** - Purple blocks that draw a highlighted box around a
specific on-screen area.
 ### **3. Selecting and Editing a Block**
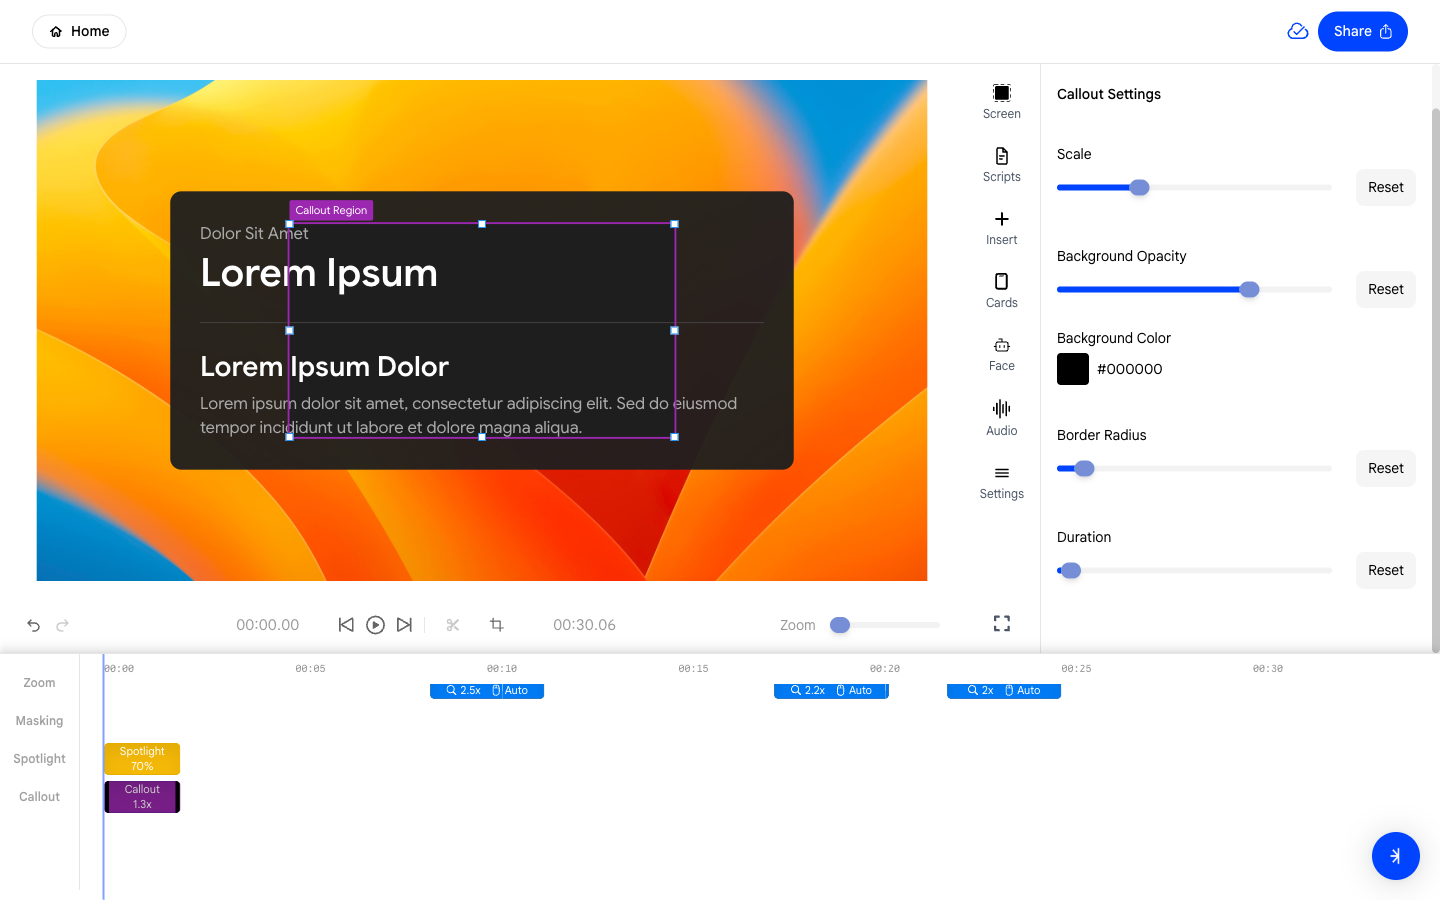
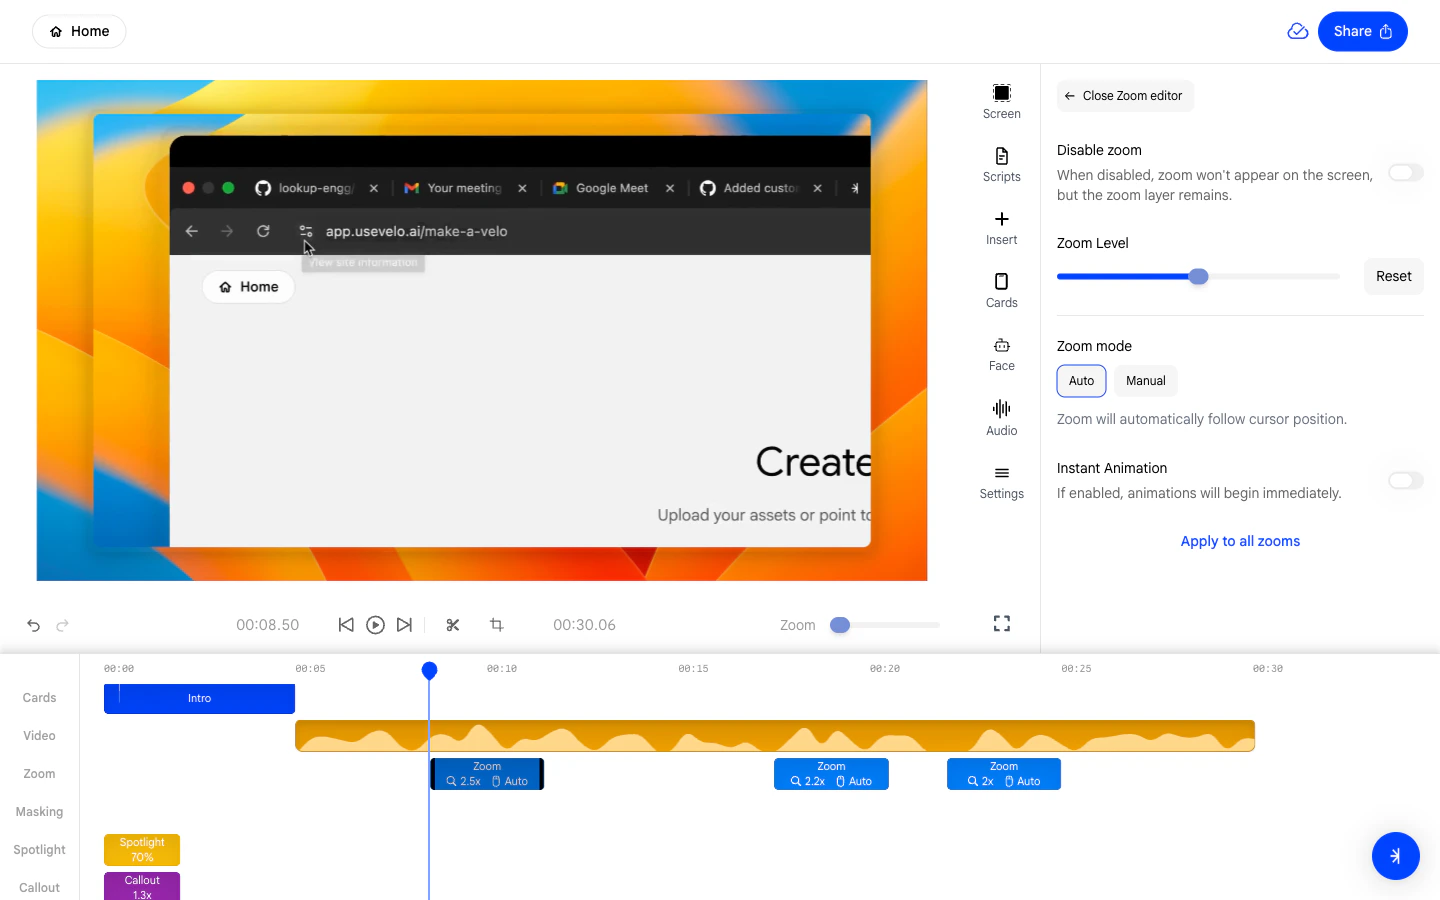
Click any block in the timeline to select it. When selected:
* Its settings appear in the right sidebar.
* You can drag the block left or right to change when it starts.
* Drag the edges of the block to extend or shorten its duration.
### **3. Selecting and Editing a Block**
Click any block in the timeline to select it. When selected:
* Its settings appear in the right sidebar.
* You can drag the block left or right to change when it starts.
* Drag the edges of the block to extend or shorten its duration.
 ### **4. Adding New Blocks**
New blocks are added to the timeline when you use the **Insert** panel
to add effects or focus tools. For example:
* Clicking **Zoom** in Insert adds a new zoom block at the playhead
position in the Zoom track.
* Clicking **Callout** adds a new callout block in the Callout track.
* Clicking **Spotlight** adds a new spotlight block in the Spotlight
track.
See the [Insert](/editing-velo/insert) page for details on all
available additions.
### **4. Adding New Blocks**
New blocks are added to the timeline when you use the **Insert** panel
to add effects or focus tools. For example:
* Clicking **Zoom** in Insert adds a new zoom block at the playhead
position in the Zoom track.
* Clicking **Callout** adds a new callout block in the Callout track.
* Clicking **Spotlight** adds a new spotlight block in the Spotlight
track.
See the [Insert](/editing-velo/insert) page for details on all
available additions.
 ### **5. Navigating Long Videos**
For longer recordings, use the following techniques to navigate the
timeline efficiently:
* **Zoom in** on the timeline using the Zoom slider in the toolbar to
see shorter segments in more detail.
* **Zoom out** to get a bird's-eye view of the full recording.
* **Scrub** by clicking and dragging the playhead to the desired
position.
### **5. Navigating Long Videos**
For longer recordings, use the following techniques to navigate the
timeline efficiently:
* **Zoom in** on the timeline using the Zoom slider in the toolbar to
see shorter segments in more detail.
* **Zoom out** to get a bird's-eye view of the full recording.
* **Scrub** by clicking and dragging the playhead to the desired
position.