> ## Documentation Index
> Fetch the complete documentation index at: https://docs.usevelo.ai/llms.txt
> Use this file to discover all available pages before exploring further.
# Spotlight
### **1. What Is the Spotlight Effect?**
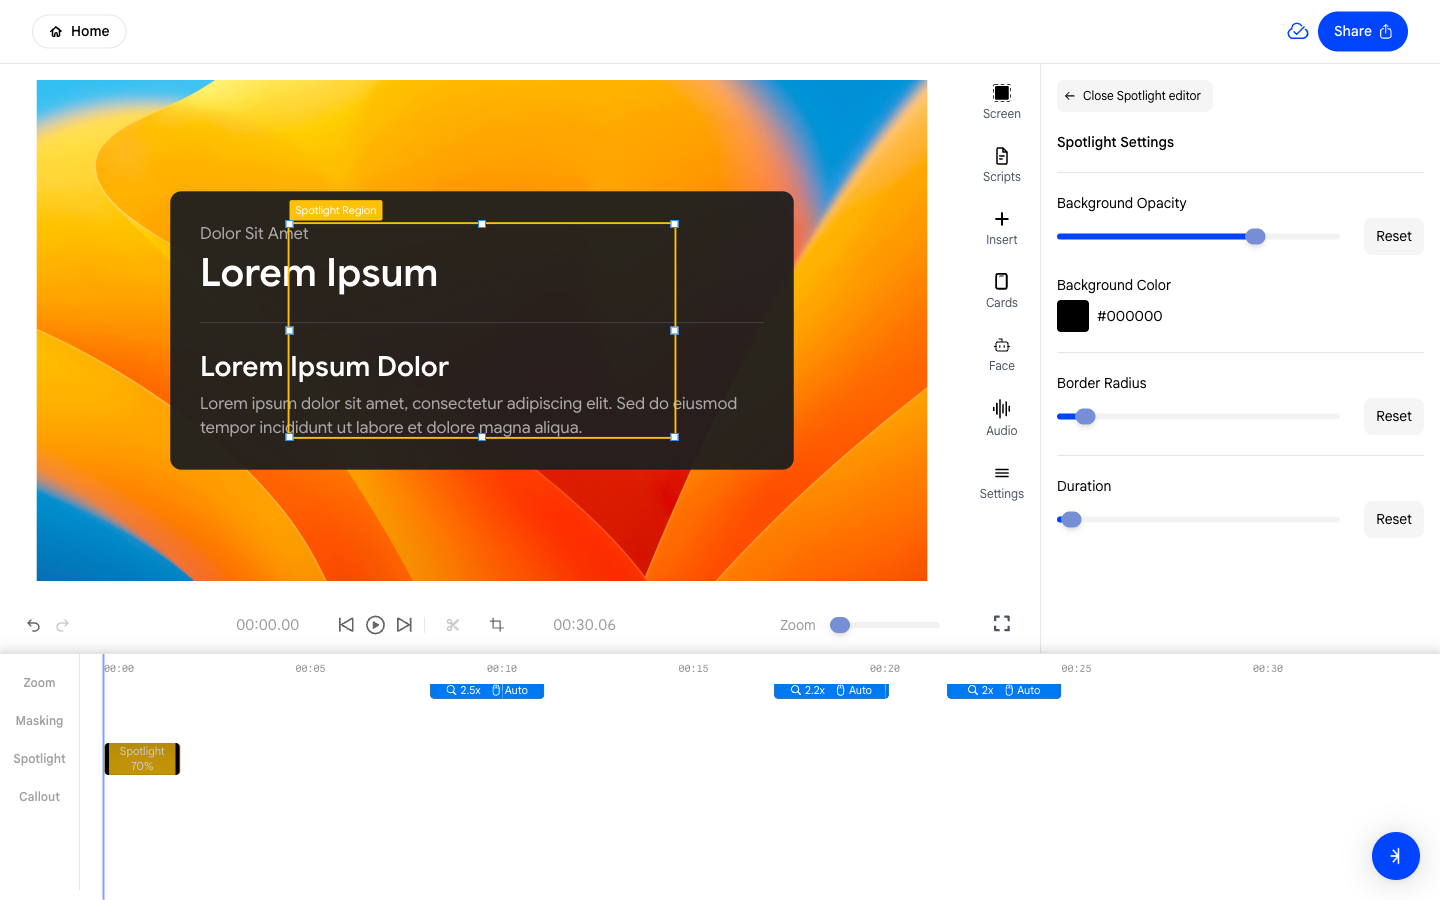
The Spotlight effect dims the area around a selected region of your
screen, drawing the viewer's attention to a specific part of the
recording. It is useful for focusing viewers on a particular UI element,
button, or section without cutting away from the rest of the screen.
 ### **2. Adding a Spotlight to Your Velo**
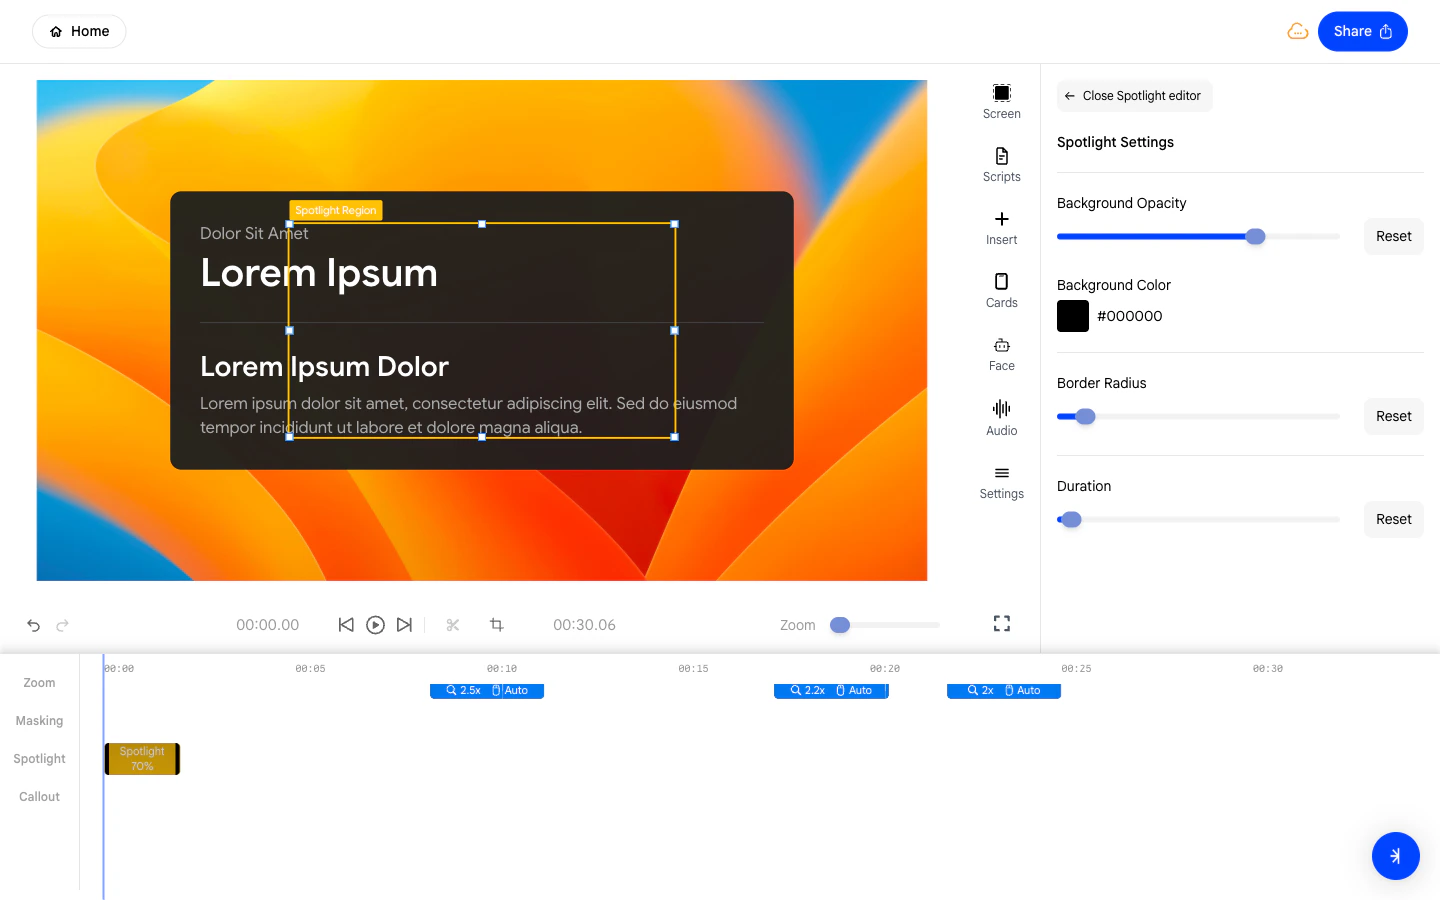
To add a Spotlight:
* Open the **Insert** panel from the right sidebar.
* Under the **Effects** section, click **Spotlight**.
* A spotlight region will appear on the canvas and a corresponding
block will be added to the **Spotlight** track in the timeline.
* Drag the spotlight region on the canvas to position it over the area
you want to highlight.
### **2. Adding a Spotlight to Your Velo**
To add a Spotlight:
* Open the **Insert** panel from the right sidebar.
* Under the **Effects** section, click **Spotlight**.
* A spotlight region will appear on the canvas and a corresponding
block will be added to the **Spotlight** track in the timeline.
* Drag the spotlight region on the canvas to position it over the area
you want to highlight.
 ### **3. Adjusting the Dimmed Background Opacity**
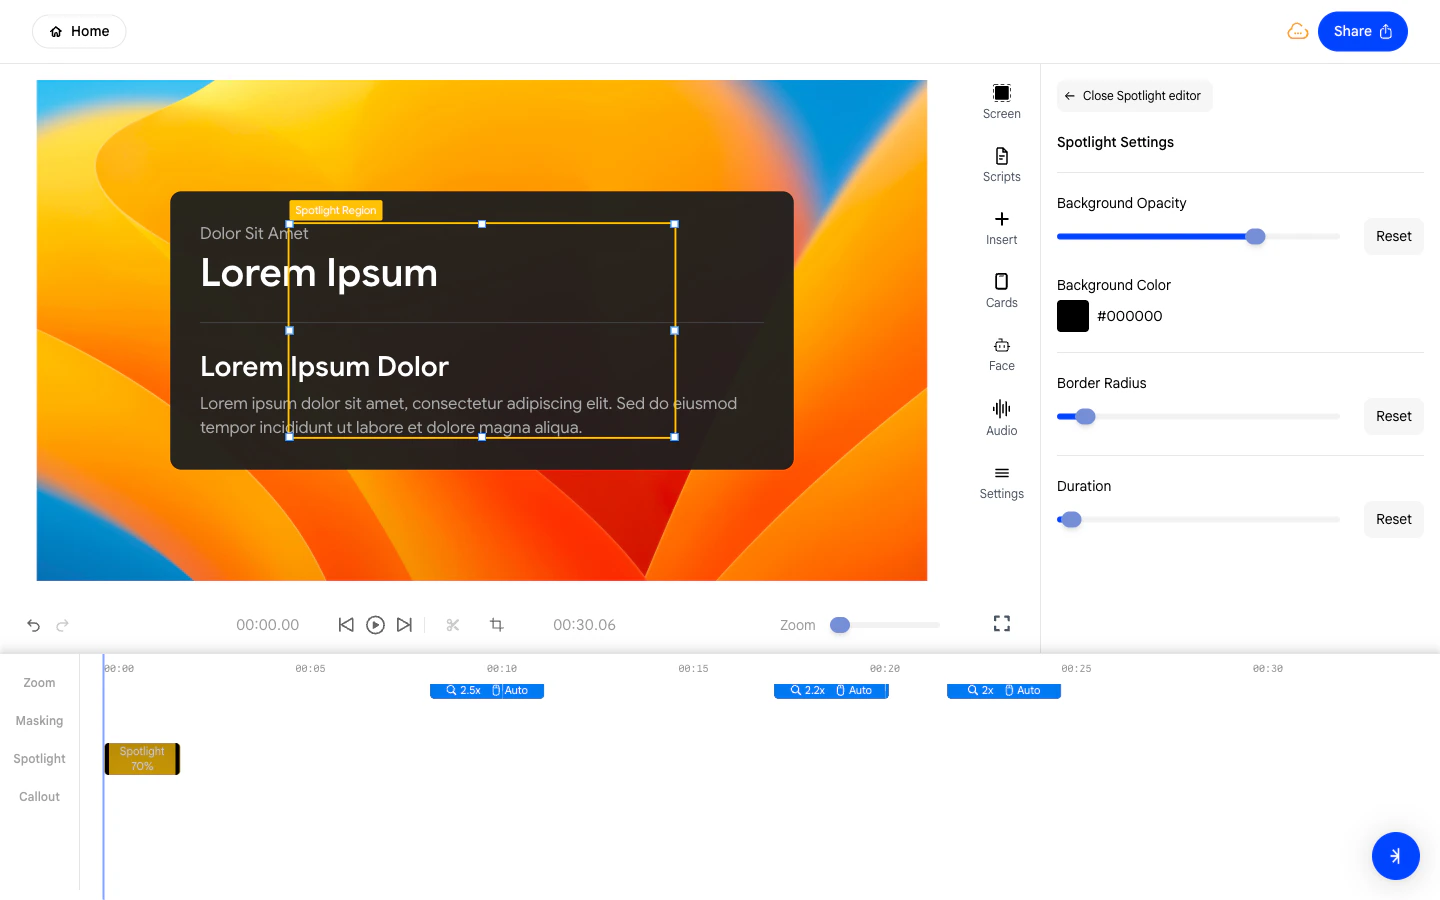
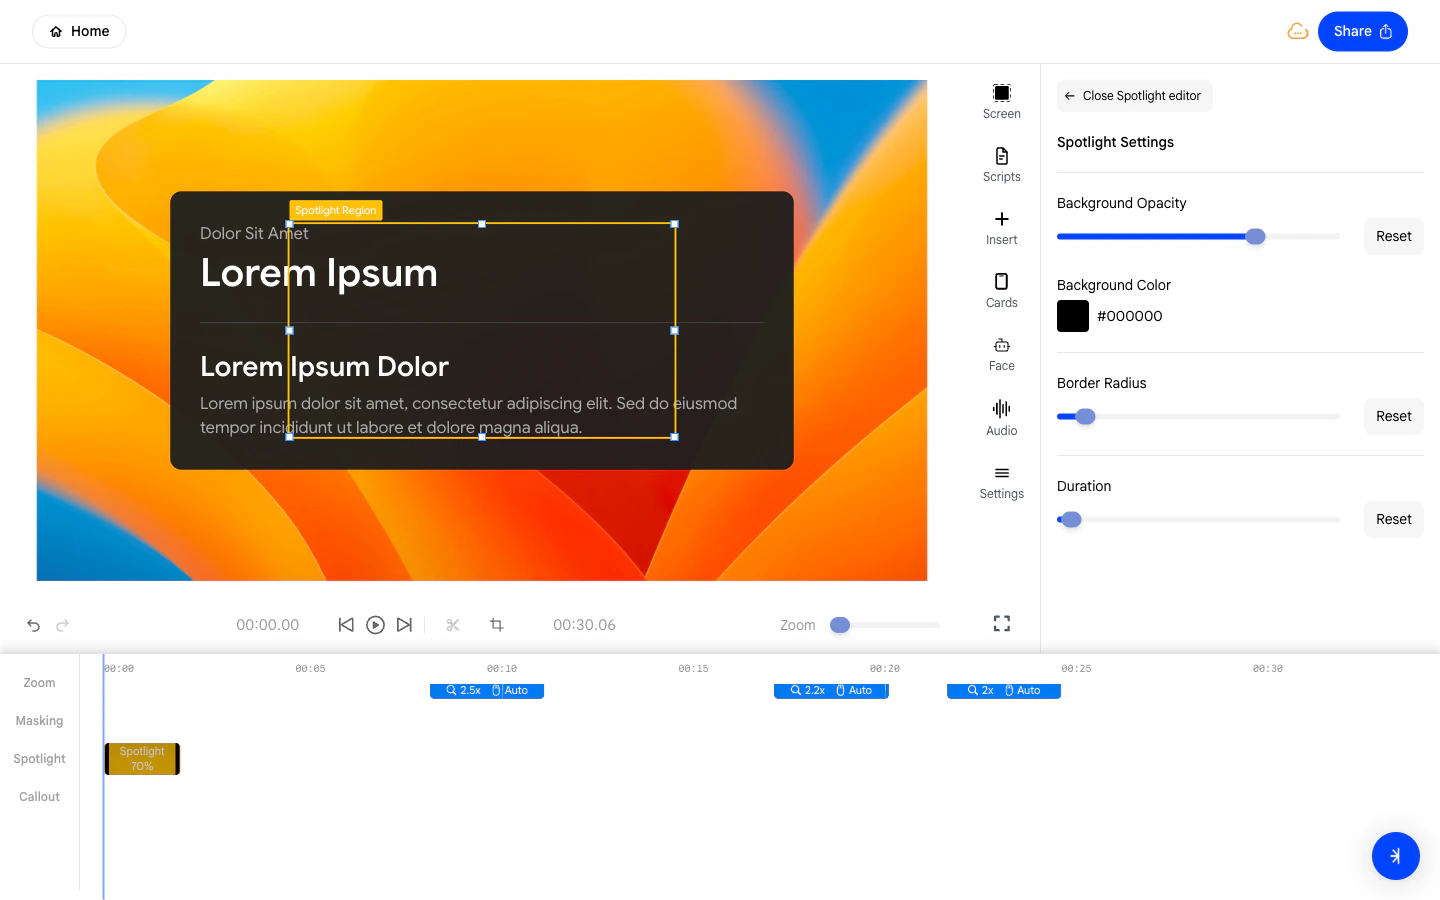
The **Background Opacity** slider controls how dark the surrounding
area becomes when the spotlight is active.
* Slide right to darken the background more, making the highlighted
area stand out more strongly.
* Slide left for a subtler dimming effect.
### **3. Adjusting the Dimmed Background Opacity**
The **Background Opacity** slider controls how dark the surrounding
area becomes when the spotlight is active.
* Slide right to darken the background more, making the highlighted
area stand out more strongly.
* Slide left for a subtler dimming effect.
 ### **4. Changing the Spotlight Background Color**
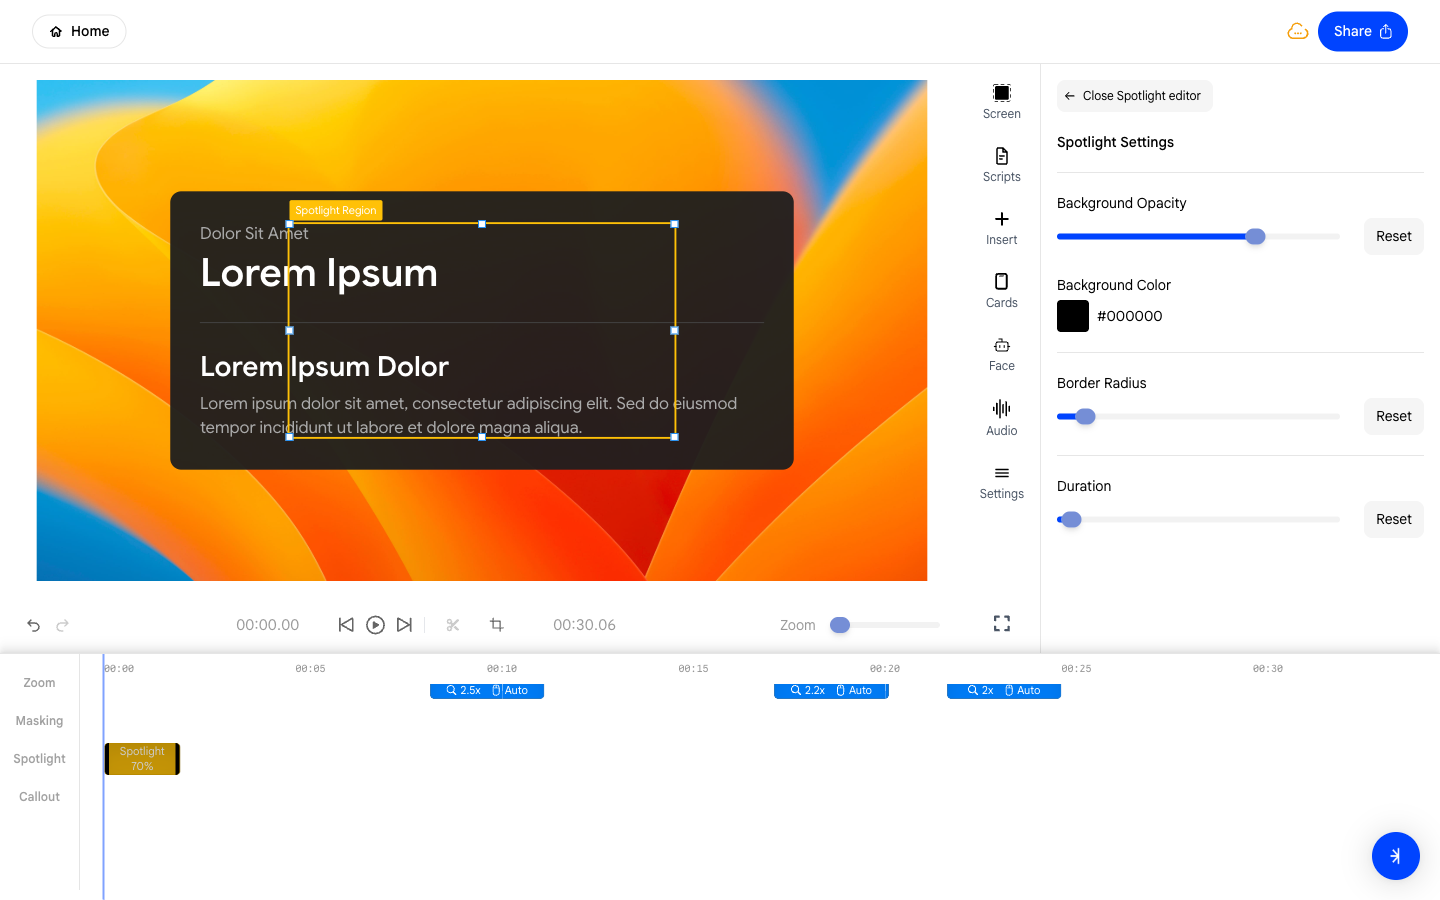
The **Background Color** picker allows you to change the color of the
dimmed area surrounding the spotlight region.
* Click the color swatch to open the color picker and choose your
preferred tint.
* The default is black, which creates a classic darkened focus effect.
### **4. Changing the Spotlight Background Color**
The **Background Color** picker allows you to change the color of the
dimmed area surrounding the spotlight region.
* Click the color swatch to open the color picker and choose your
preferred tint.
* The default is black, which creates a classic darkened focus effect.
 ### **5. Rounding the Spotlight Corners**
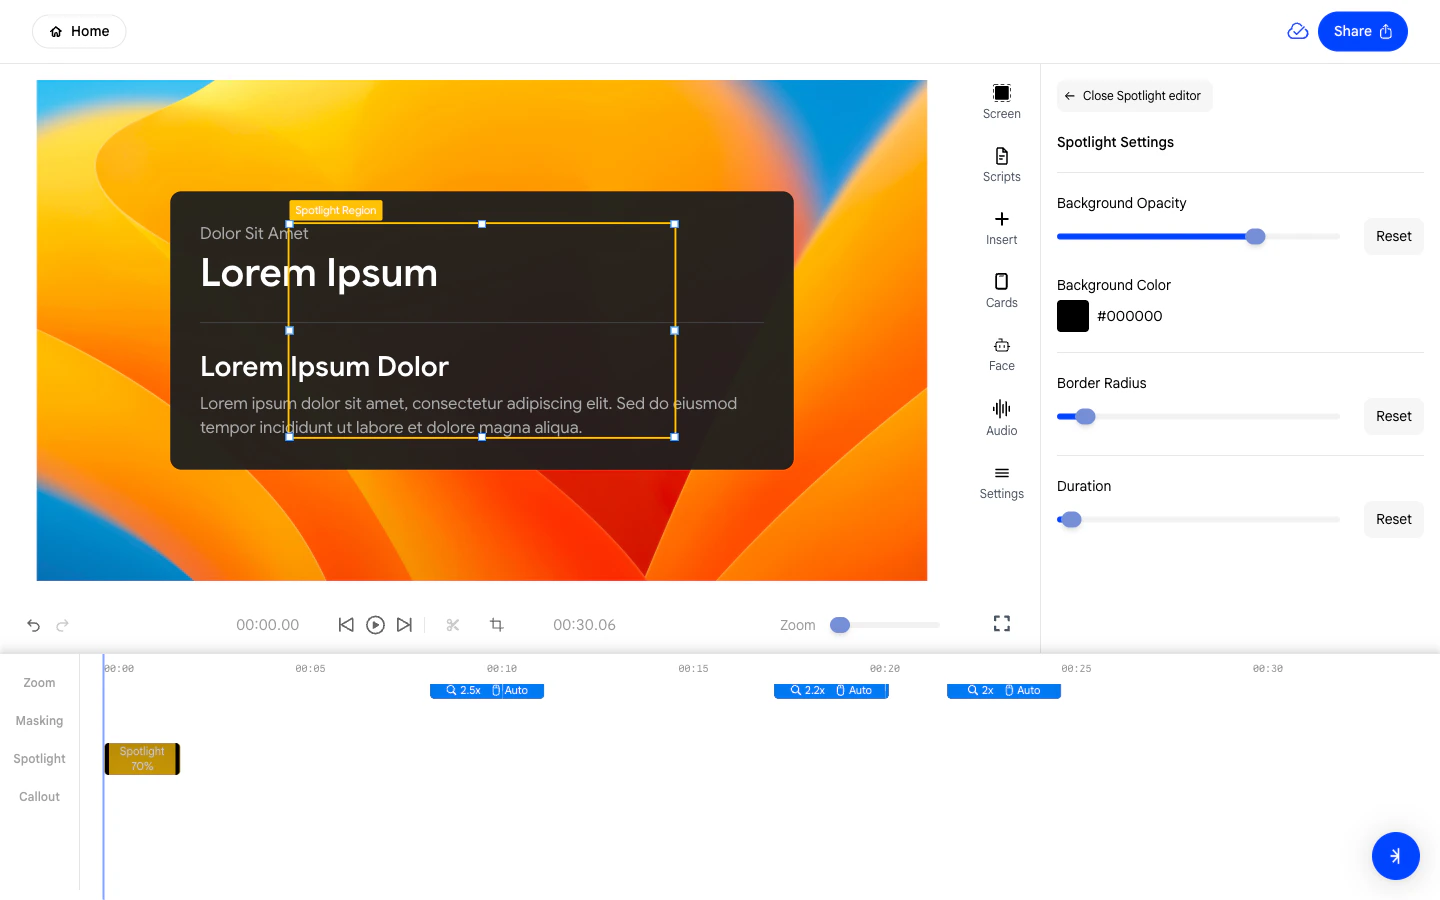
Use the **Border Radius** slider to adjust how rounded the corners of
the spotlight region appear.
* Slide right for a pill or oval shape.
* Slide left to keep the spotlight region as a sharp rectangle.
### **5. Rounding the Spotlight Corners**
Use the **Border Radius** slider to adjust how rounded the corners of
the spotlight region appear.
* Slide right for a pill or oval shape.
* Slide left to keep the spotlight region as a sharp rectangle.
 ### **6. Setting the Spotlight Duration**
The **Duration** field controls how long the spotlight effect remains
active in your video.
* Adjust the value to match the segment of your demo you want to
highlight.
* You can also drag the edges of the Spotlight block directly in the
timeline to resize it.
### **6. Setting the Spotlight Duration**
The **Duration** field controls how long the spotlight effect remains
active in your video.
* Adjust the value to match the segment of your demo you want to
highlight.
* You can also drag the edges of the Spotlight block directly in the
timeline to resize it.