> ## Documentation Index
> Fetch the complete documentation index at: https://docs.usevelo.ai/llms.txt
> Use this file to discover all available pages before exploring further.
# Overview
> A guide to the Velo editor - what each panel does and how to navigate it.
### **1. What Is the Velo Editor?**
The Velo editor is where you finalize your Velo before sharing it. After
your Velo is generated, you are taken directly into the editor to make
adjustments.
* The **right sidebar** contains all the settings panels for
customizing your video's appearance, content, and behavior.
* The **bottom timeline** lets you view and interact with the different
tracks that make up your video.
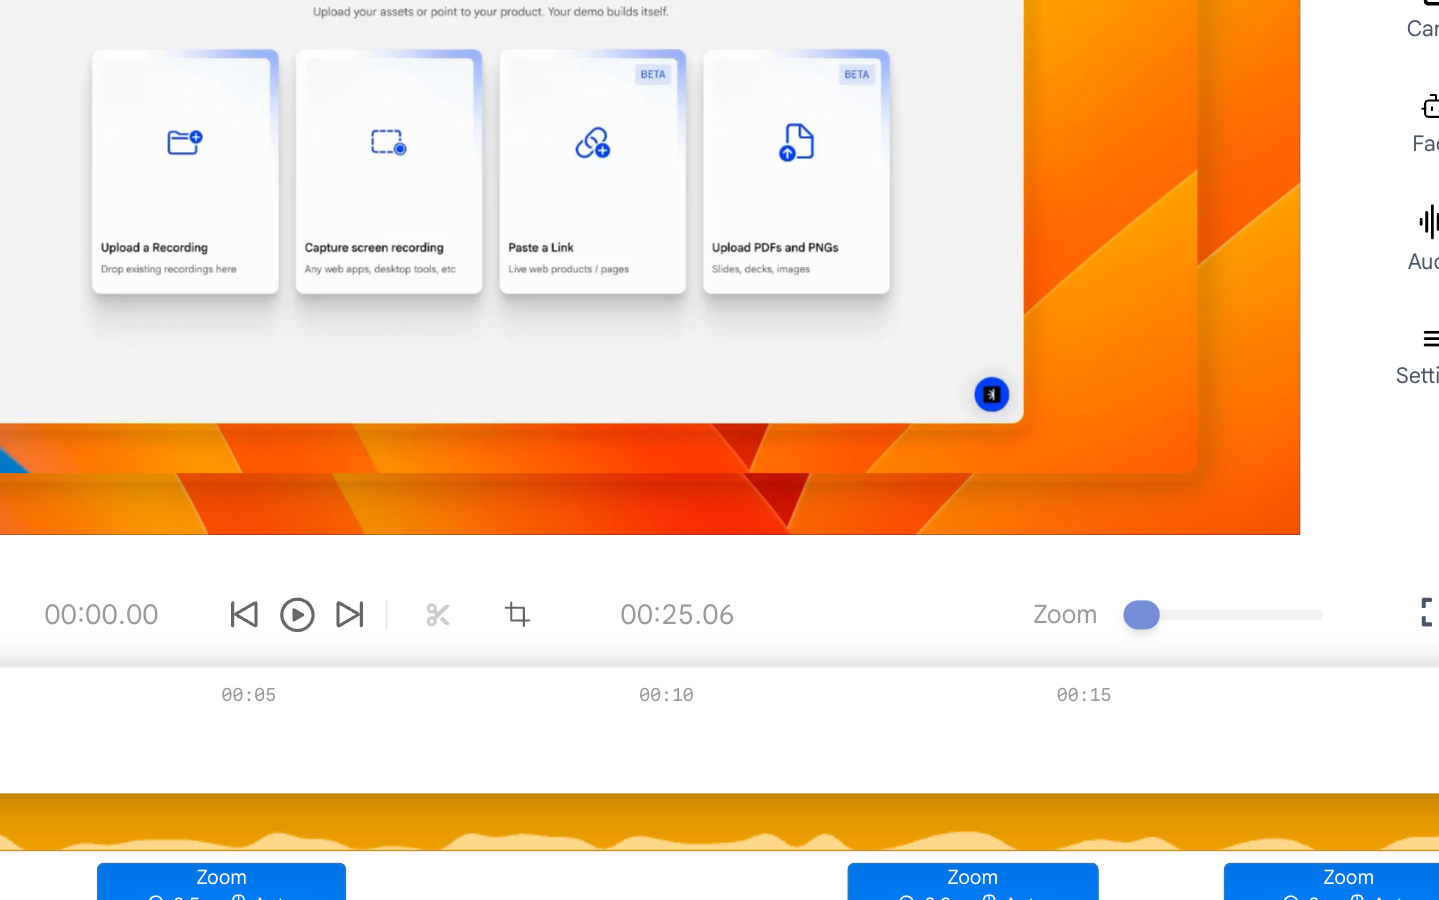
* The **toolbar** at the top of the timeline gives you quick access to
playback, cutting, cropping, and zoom controls.
 ### **2. Right Sidebar Panels**
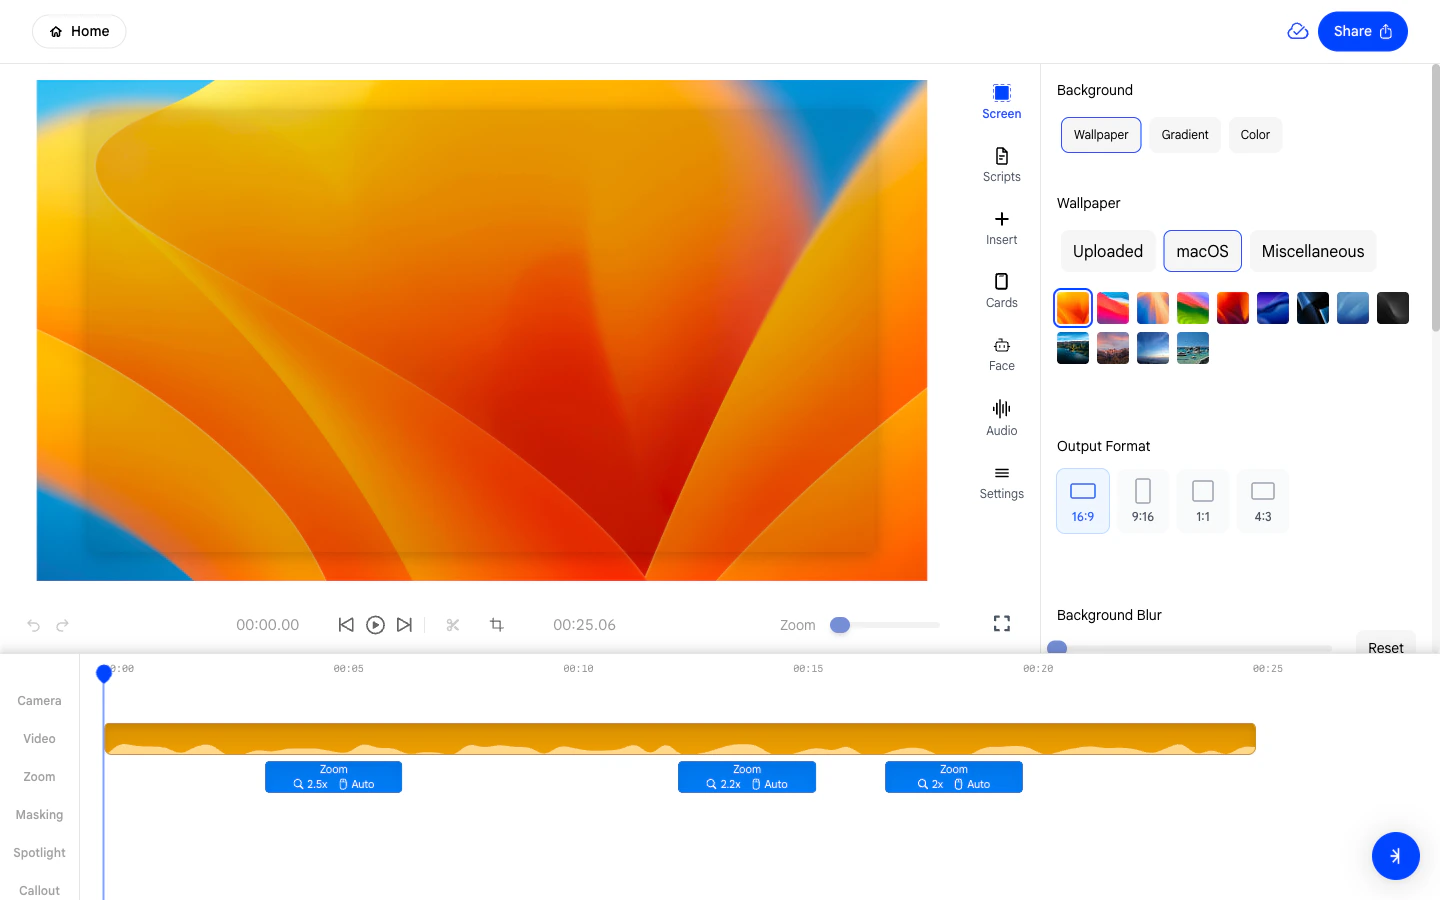
The right sidebar is organized into dedicated panels. Click any icon to
open its settings:
* **Screen** - Change the background style, output format, blur, and
padding around your recording.
* **Scripts** - View and edit the narration script that was used to
generate your Velo.
* **Insert** - Add text boxes, images, shapes, arrows, callouts,
spotlights, masks, and zoom blocks to your video.
* **Cards** - Enable and customize an intro card that plays at the
beginning of your video.
* **Face** - Toggle your VeloTwin face overlay on or off, reposition
it, and adjust its size and shape.
* **Audio** - Control background music, master volume, and narration
volume.
* **Settings** - Update the video title, description, and logo.
### **2. Right Sidebar Panels**
The right sidebar is organized into dedicated panels. Click any icon to
open its settings:
* **Screen** - Change the background style, output format, blur, and
padding around your recording.
* **Scripts** - View and edit the narration script that was used to
generate your Velo.
* **Insert** - Add text boxes, images, shapes, arrows, callouts,
spotlights, masks, and zoom blocks to your video.
* **Cards** - Enable and customize an intro card that plays at the
beginning of your video.
* **Face** - Toggle your VeloTwin face overlay on or off, reposition
it, and adjust its size and shape.
* **Audio** - Control background music, master volume, and narration
volume.
* **Settings** - Update the video title, description, and logo.
 ### **3. The Timeline**
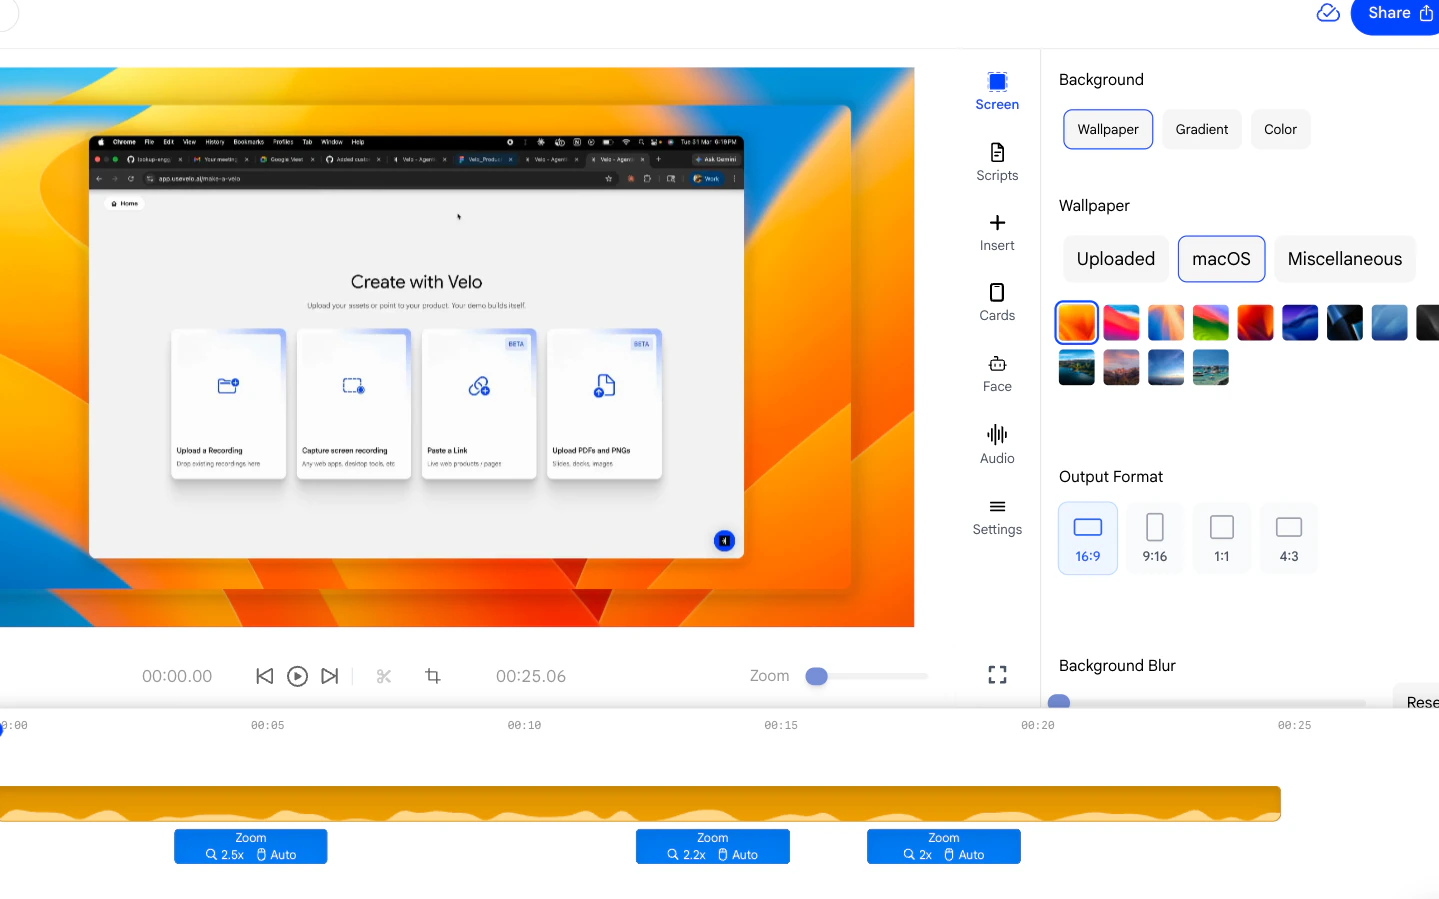
The timeline at the bottom of the editor shows all the tracks in your
project. Each track controls a different layer of your video:
* **Camera** - Your VeloTwin face overlay segments.
* **Video** - The screen recording waveform and playback bar.
* **Zoom** - Zoom blocks that control when and how the camera zooms in.
* **Masking** - Mask segments that hide sensitive areas of the screen.
* **Spotlight** - Spotlight blocks that dim the surrounding area to
focus attention on a region.
* **Callout** - Callout blocks that draw a highlighted box around a
specific area on screen.
Drag the playhead to scrub through your video. Click any block in the
timeline to select it and open its settings in the right sidebar.
### **3. The Timeline**
The timeline at the bottom of the editor shows all the tracks in your
project. Each track controls a different layer of your video:
* **Camera** - Your VeloTwin face overlay segments.
* **Video** - The screen recording waveform and playback bar.
* **Zoom** - Zoom blocks that control when and how the camera zooms in.
* **Masking** - Mask segments that hide sensitive areas of the screen.
* **Spotlight** - Spotlight blocks that dim the surrounding area to
focus attention on a region.
* **Callout** - Callout blocks that draw a highlighted box around a
specific area on screen.
Drag the playhead to scrub through your video. Click any block in the
timeline to select it and open its settings in the right sidebar.
 ### **4. The Toolbar**
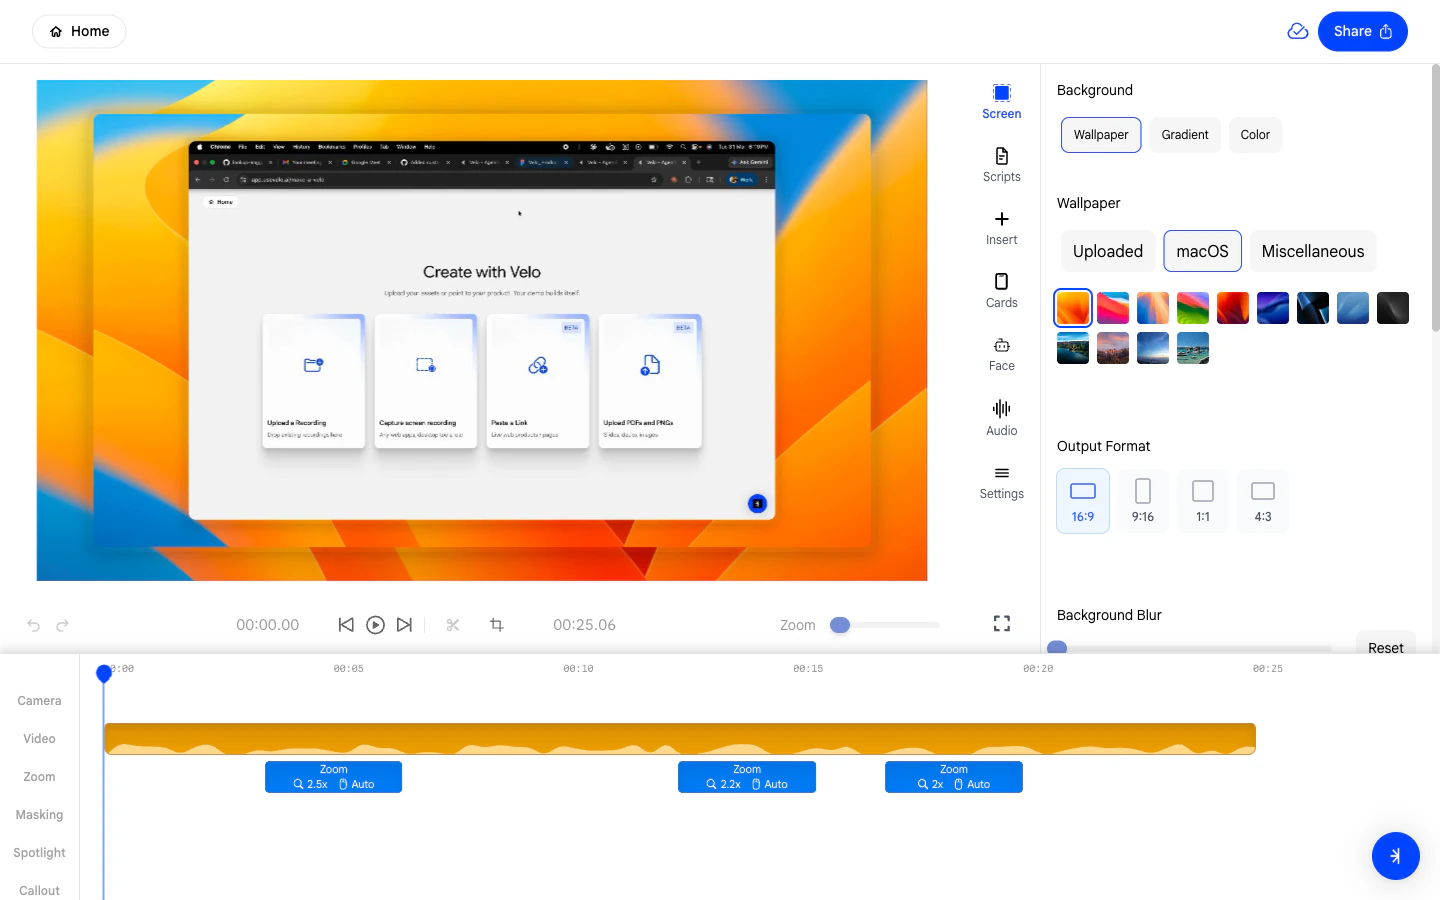
The toolbar sits above the timeline and contains the following controls:
* **Undo / Redo** - Step backwards or forwards through your edit
history.
* **Playback controls** - Play, pause, and skip through your video.
* **Cut (✂)** - Splits the video at the current playhead position.
* **Crop (⊡)** - Opens the crop modal to trim the start and end of your
recording.
* **Timecode** - Displays the current playhead position and total
duration.
* **Zoom slider** - Adjusts the horizontal zoom level of the timeline
for precision editing.
* **Fullscreen** - Expands the preview to fill the screen.
### **4. The Toolbar**
The toolbar sits above the timeline and contains the following controls:
* **Undo / Redo** - Step backwards or forwards through your edit
history.
* **Playback controls** - Play, pause, and skip through your video.
* **Cut (✂)** - Splits the video at the current playhead position.
* **Crop (⊡)** - Opens the crop modal to trim the start and end of your
recording.
* **Timecode** - Displays the current playhead position and total
duration.
* **Zoom slider** - Adjusts the horizontal zoom level of the timeline
for precision editing.
* **Fullscreen** - Expands the preview to fill the screen.