> ## Documentation Index
> Fetch the complete documentation index at: https://docs.usevelo.ai/llms.txt
> Use this file to discover all available pages before exploring further.
# Background
### **1. Changing the Background Style in Velo**
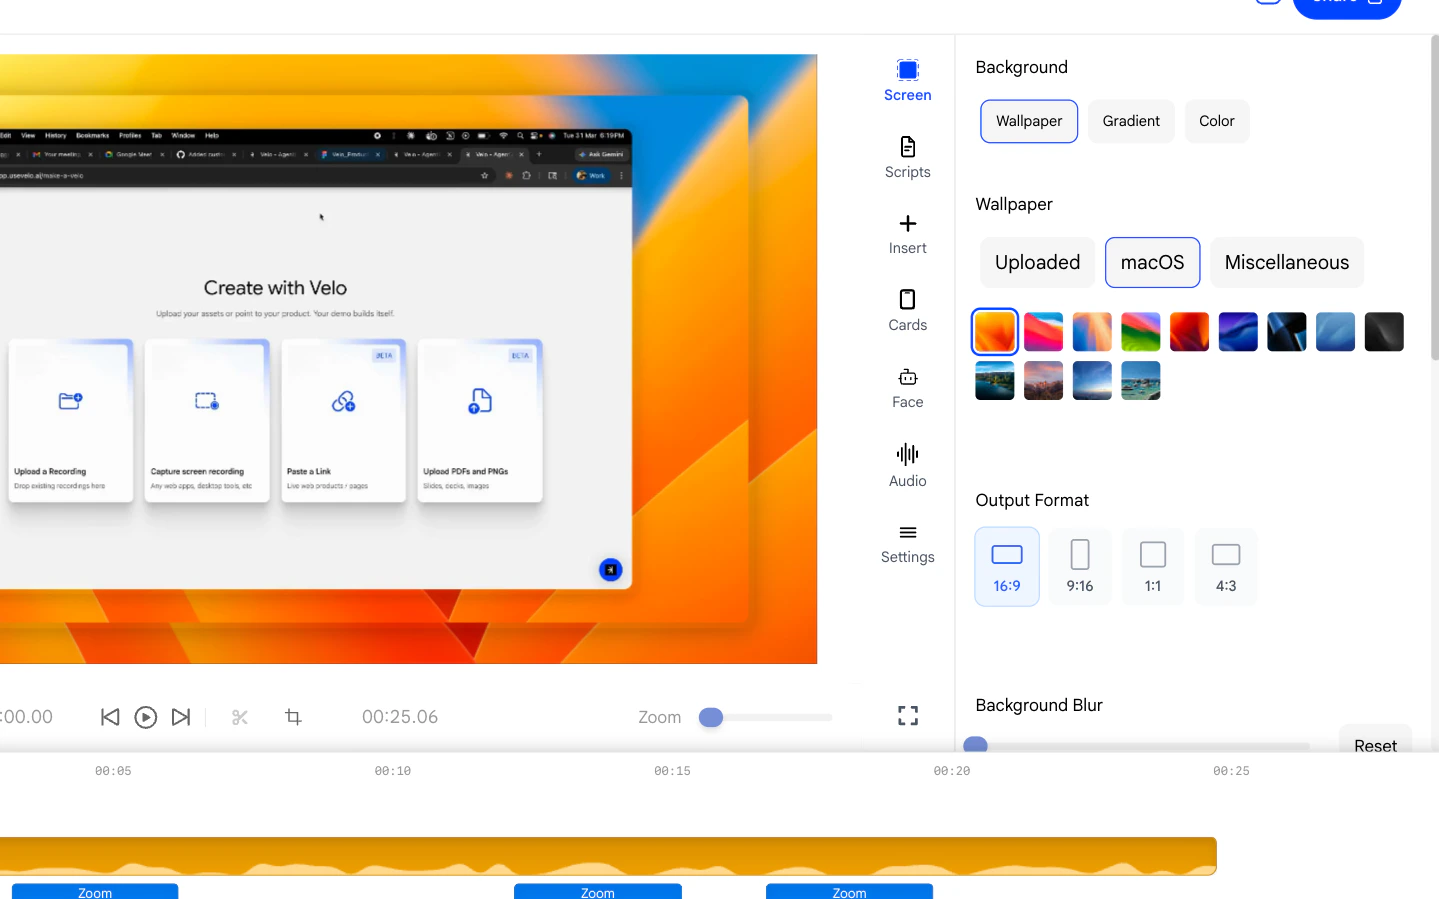
Open the **Screen** panel from the right sidebar to access background
options. There are three style tabs at the top:
* **Wallpaper** - Choose from uploaded images or built-in presets
organized into categories such as **macOS** and **Miscellaneous**.
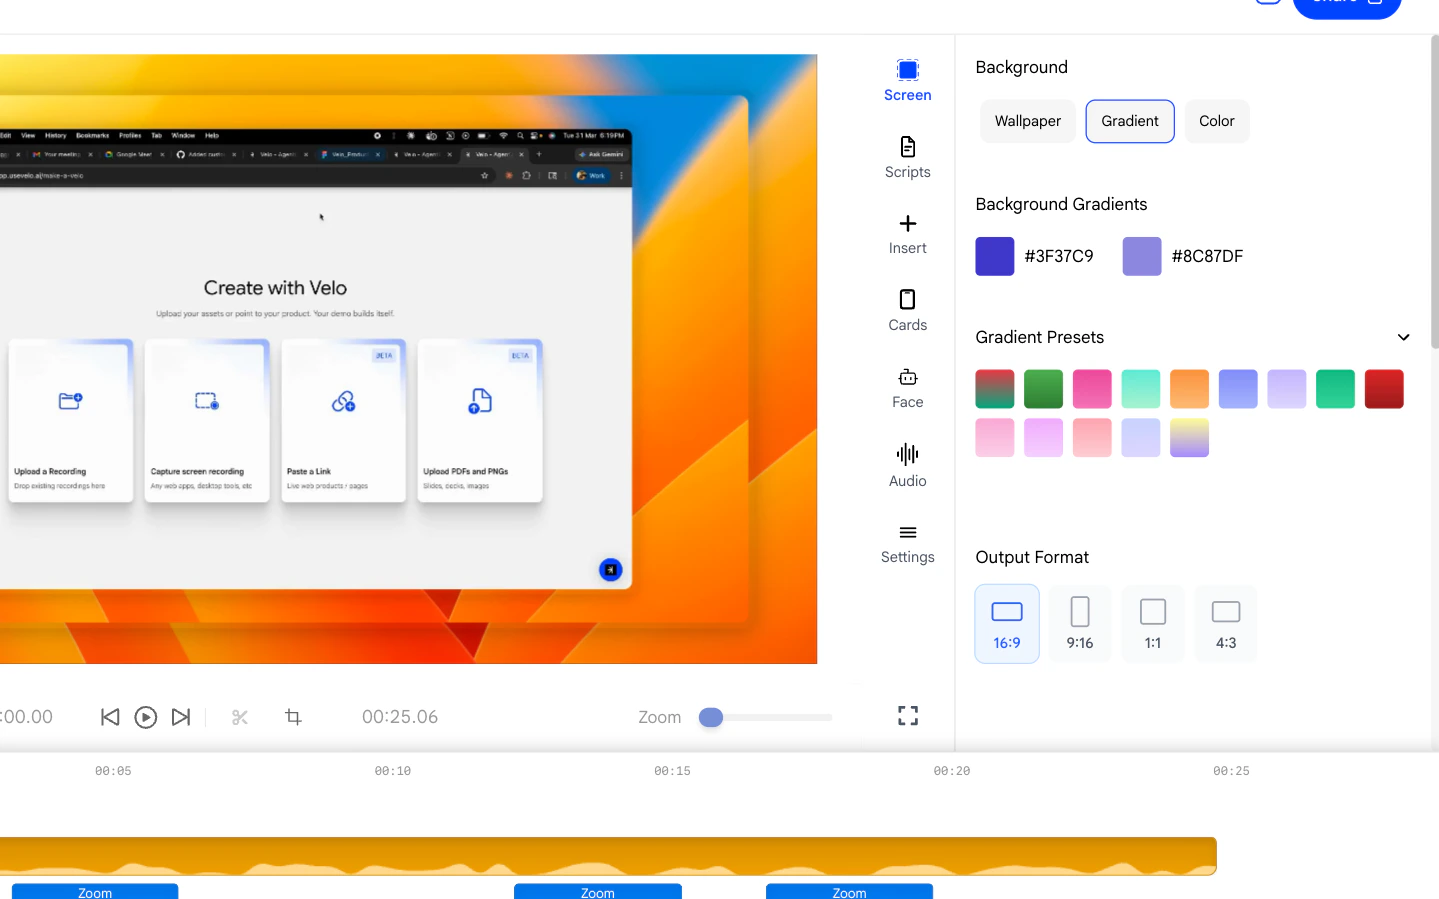
* **Gradient** - Pick a preset gradient or define your own by selecting
two colors using the color pickers.
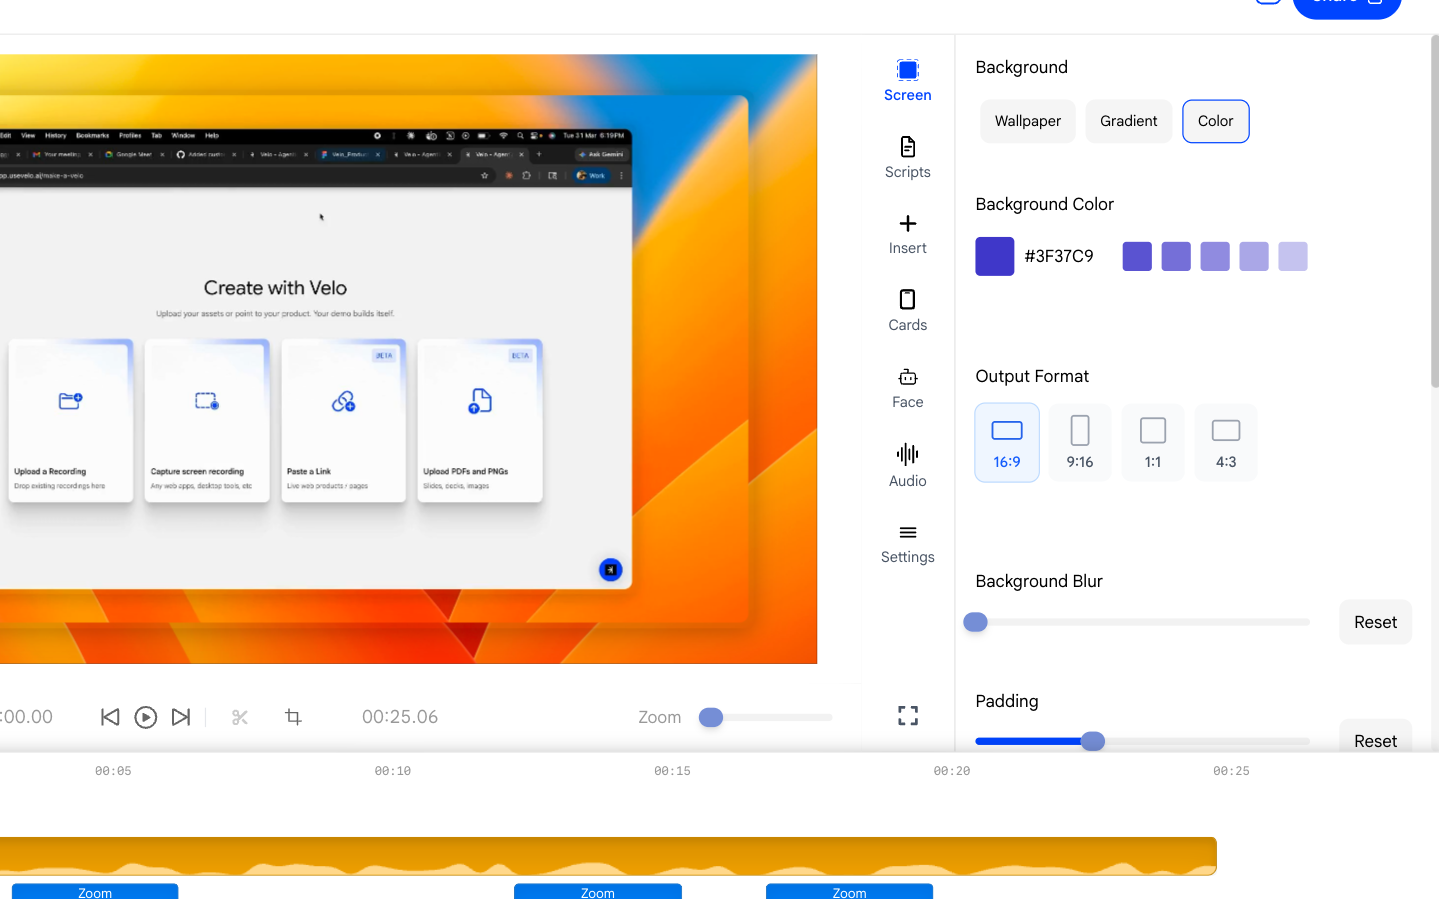
* **Color** - Apply a flat solid color using the color picker, hex
input, or one of the preset swatches.
 ### **2. Setting the Output Format**
Below the style tabs, the **Output Format** dropdown controls the
aspect ratio of the final video. The available options are:
* **16:9** - Standard widescreen, suitable for most presentations and
embeds.
* **9:16** - Vertical format, ideal for mobile or social media.
* **1:1** - Square format for platforms like LinkedIn.
* **4:3** - Classic presentation format.
### **2. Setting the Output Format**
Below the style tabs, the **Output Format** dropdown controls the
aspect ratio of the final video. The available options are:
* **16:9** - Standard widescreen, suitable for most presentations and
embeds.
* **9:16** - Vertical format, ideal for mobile or social media.
* **1:1** - Square format for platforms like LinkedIn.
* **4:3** - Classic presentation format.
 ### **3. Blurring the Background**
When a **Wallpaper** background is active, the **Background Blur**
slider becomes available.
* Drag the slider to the right to increase the blur amount.
* Click **Reset** to return to the original unblurred image.
### **3. Blurring the Background**
When a **Wallpaper** background is active, the **Background Blur**
slider becomes available.
* Drag the slider to the right to increase the blur amount.
* Click **Reset** to return to the original unblurred image.
 ### **4. Adjusting Padding Around the Recording**
The **Padding** slider controls how much space appears between the
screen recording and the edges of the background.
* Slide right to add more breathing room around your product recording.
* Slide left to bring the recording closer to the edges.
### **4. Adjusting Padding Around the Recording**
The **Padding** slider controls how much space appears between the
screen recording and the edges of the background.
* Slide right to add more breathing room around your product recording.
* Slide left to bring the recording closer to the edges.